
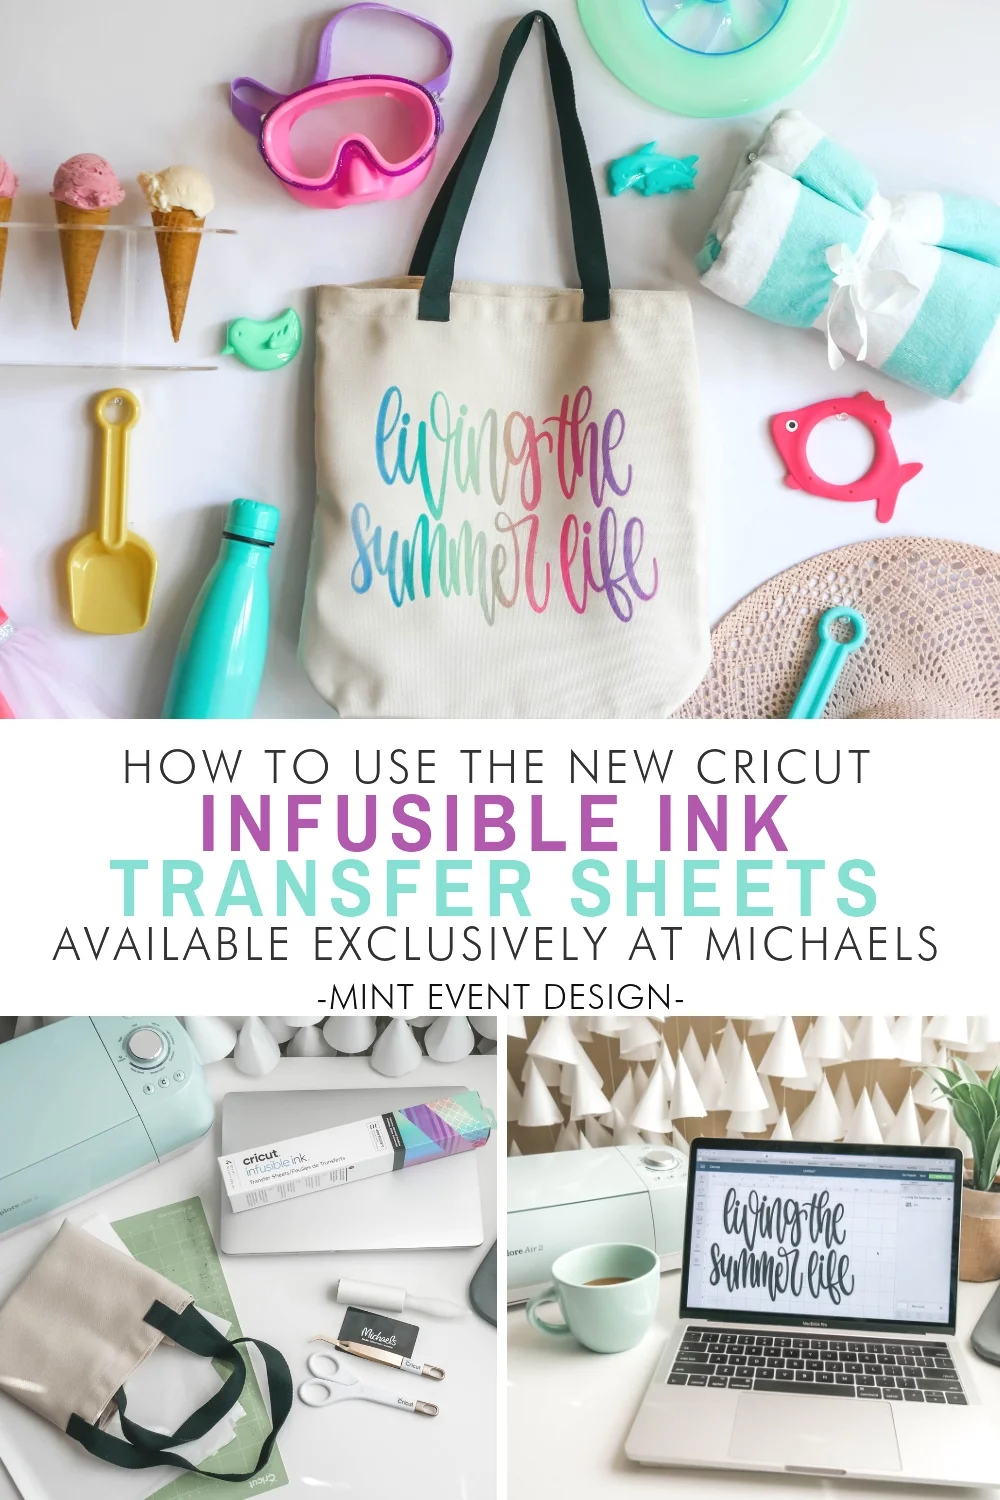
Living the Summer Life with Michaels Stores
Mint Event Design has received payment and materials for this post.
However, I only promote products I truly love and want to share with you to help you plan & design a beautiful DIY.
The concept and designs are all my own.
This post is sponsored by Michaels
We are halfway through the summer and I am feeling so relaxed -
definitely enjoying every single day with my kids and friends… pool days are the best!
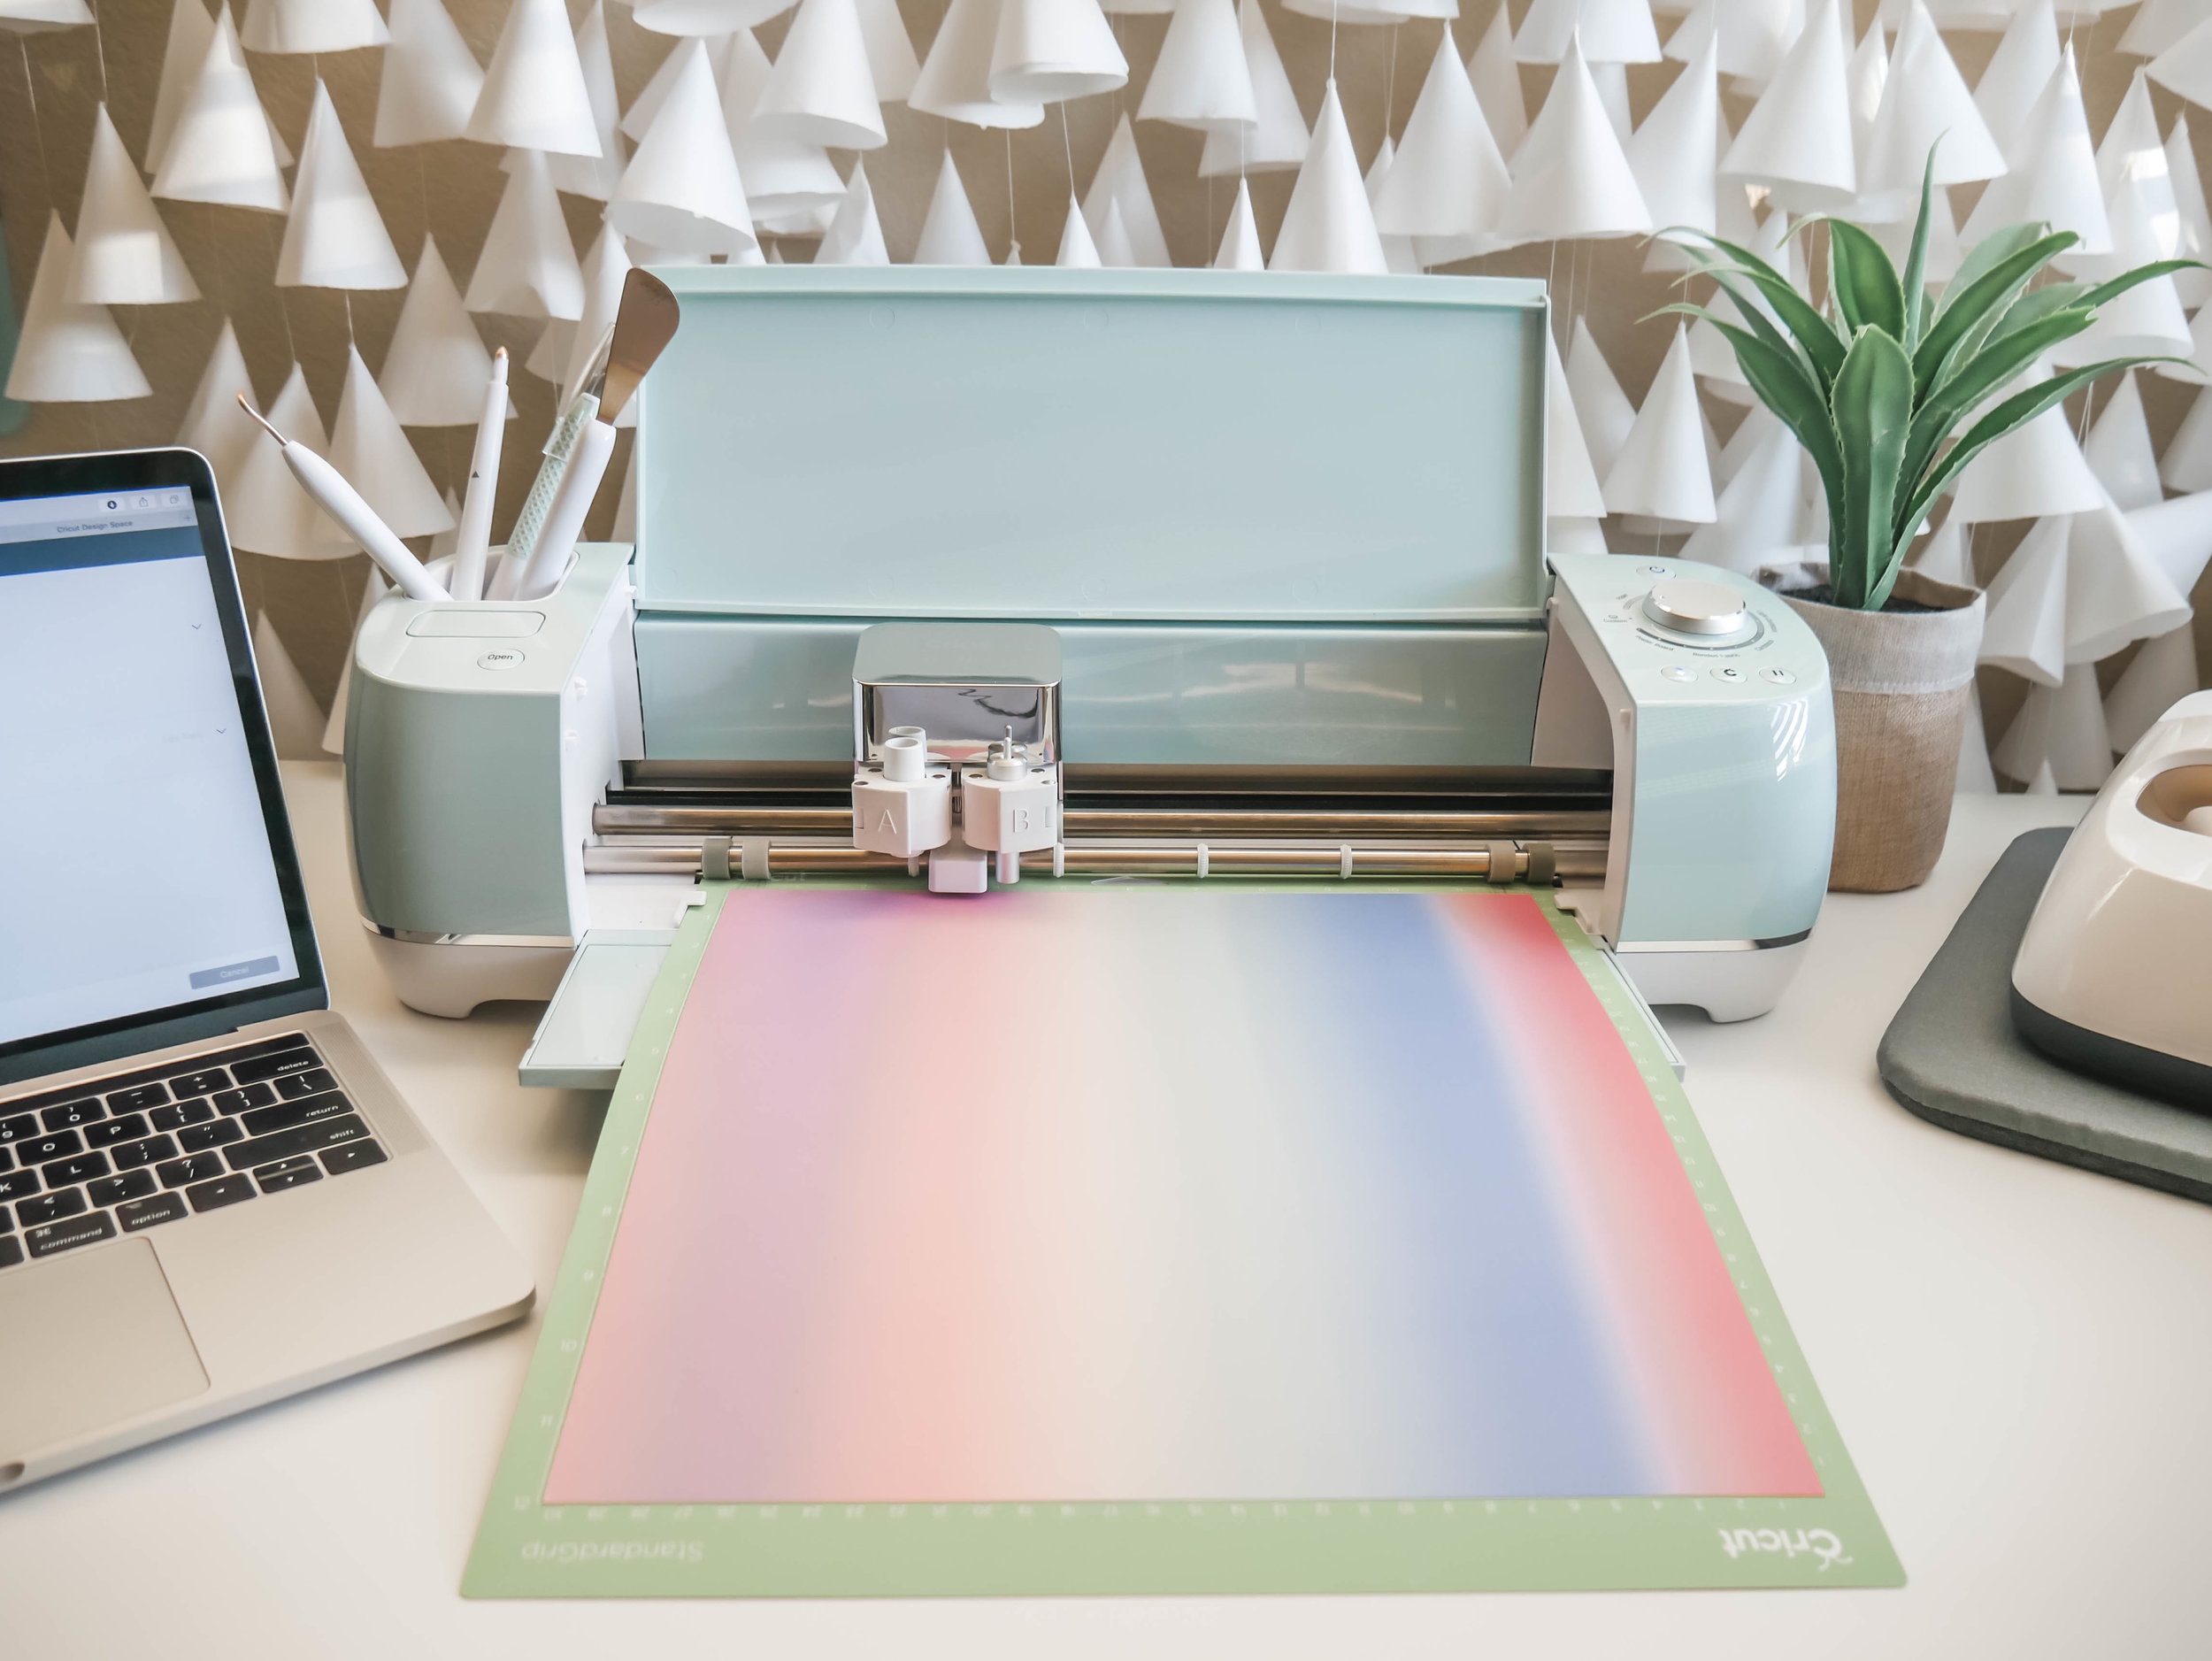
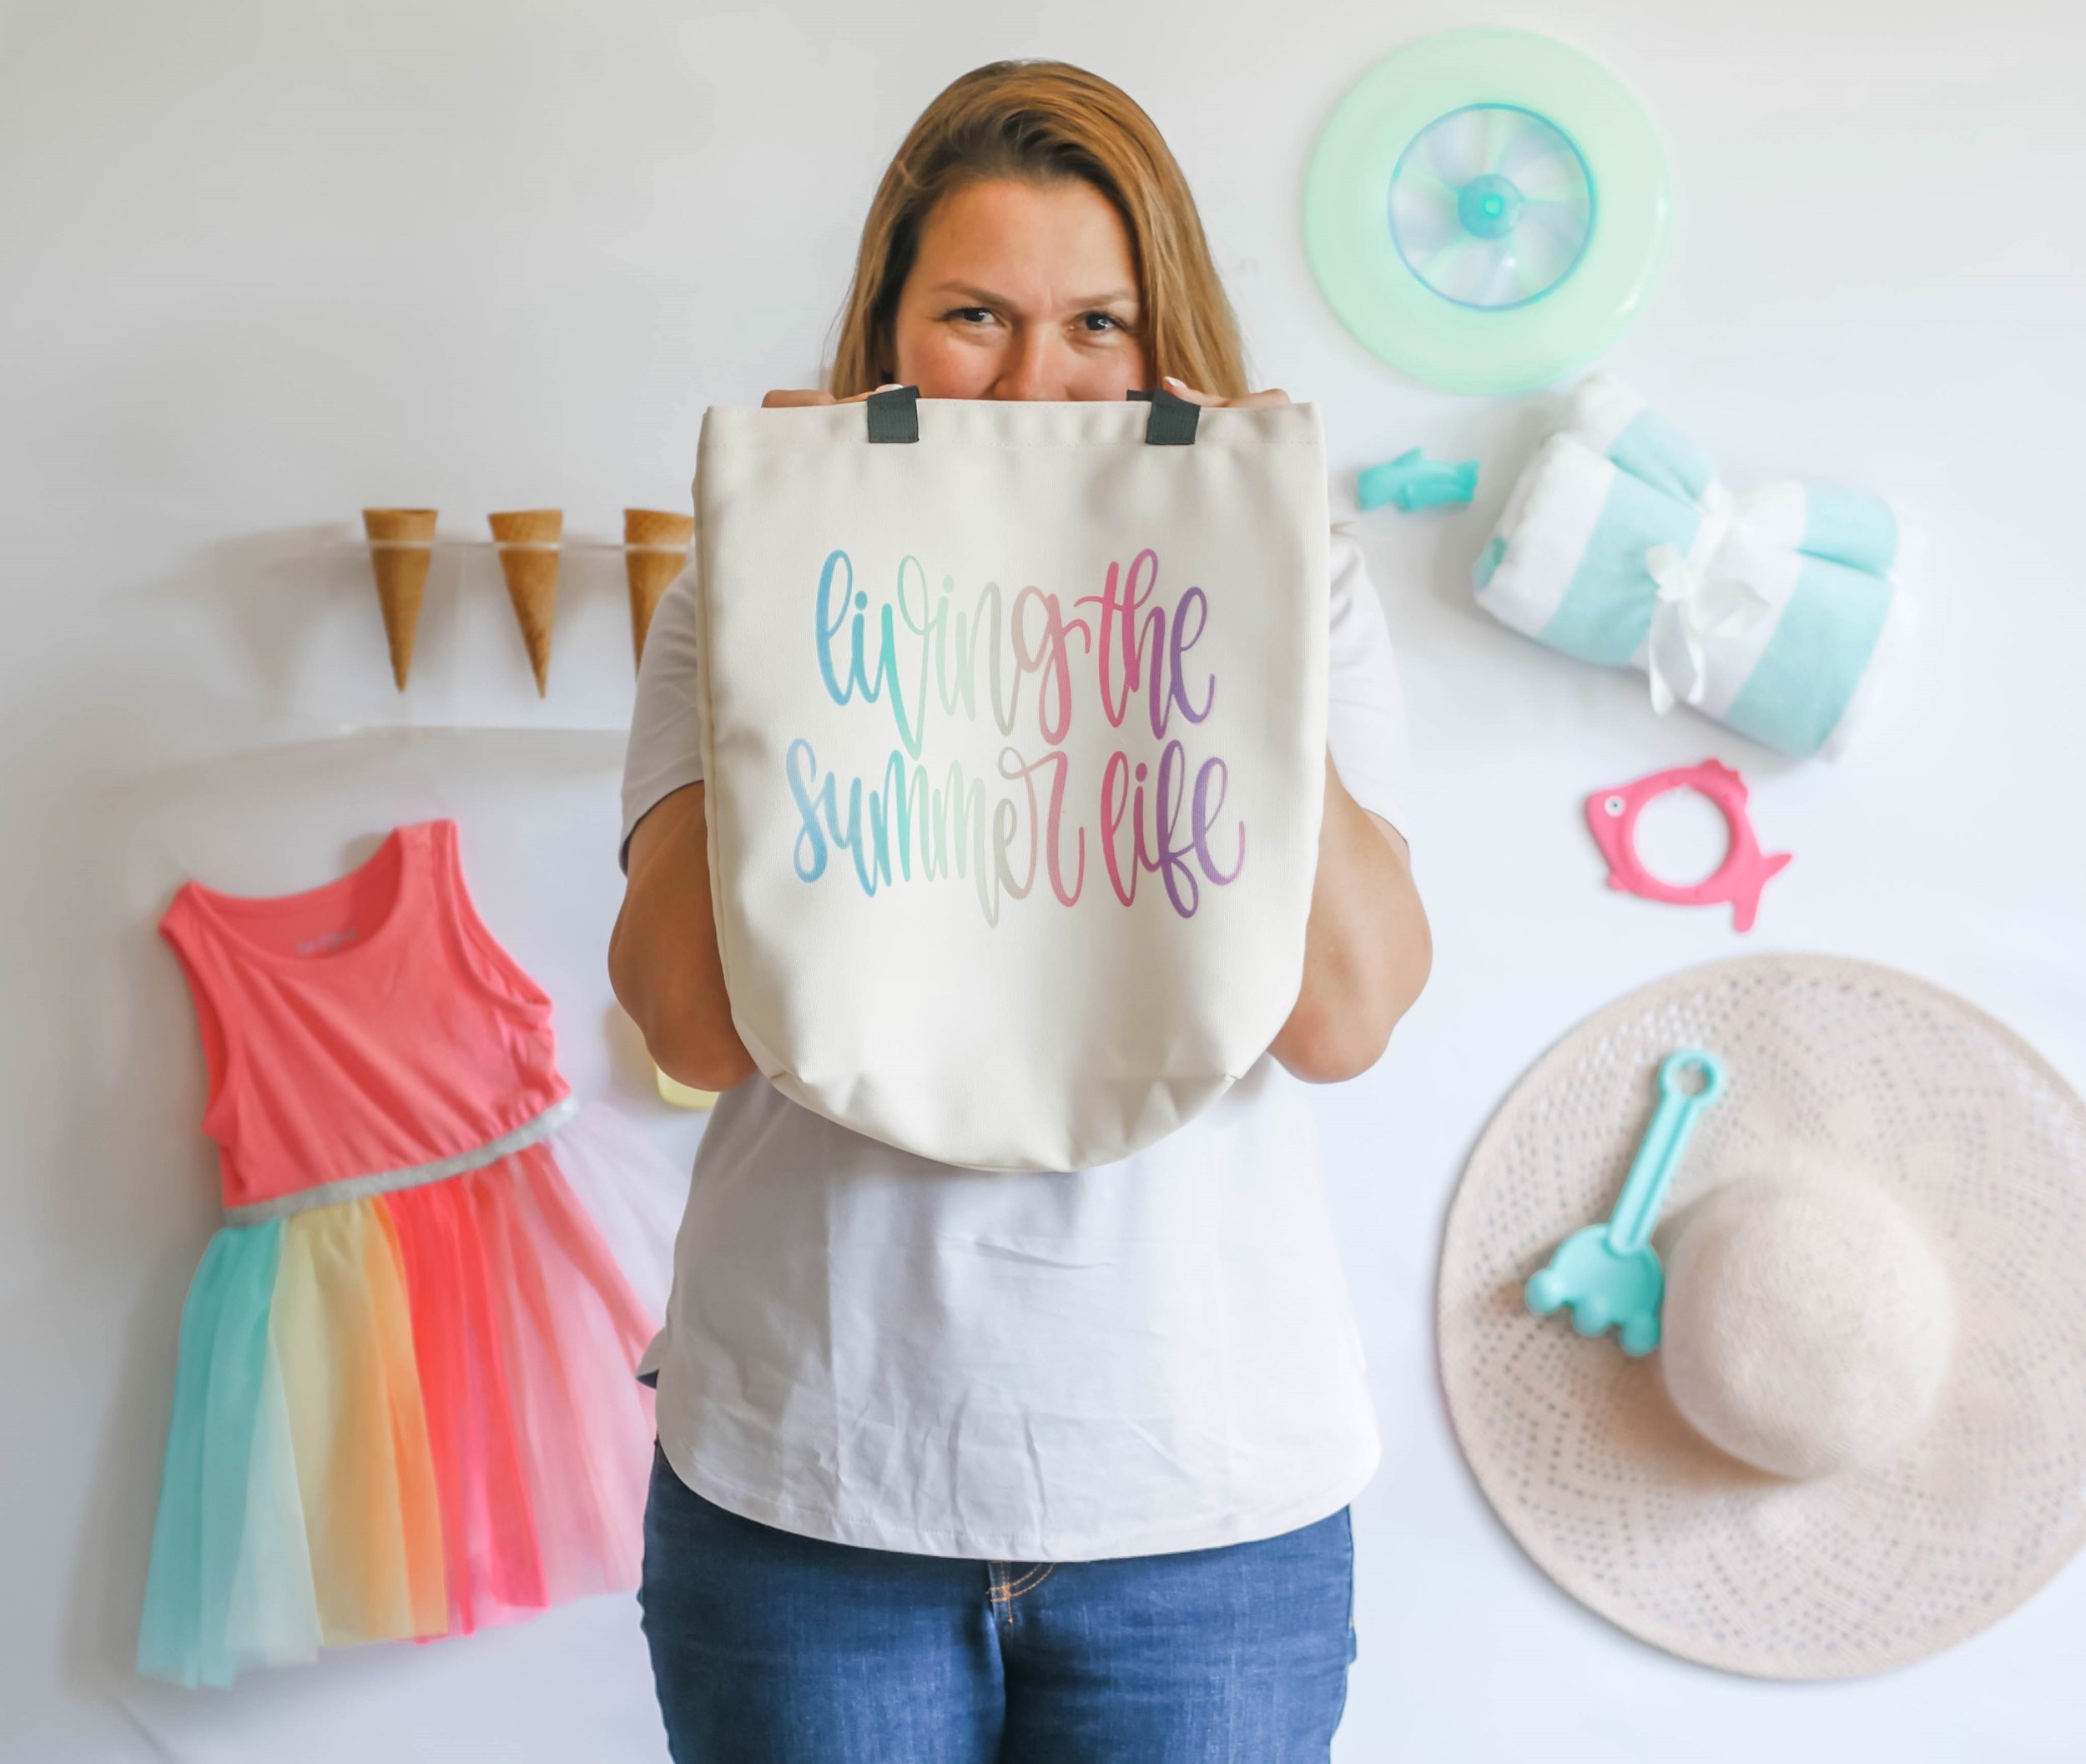
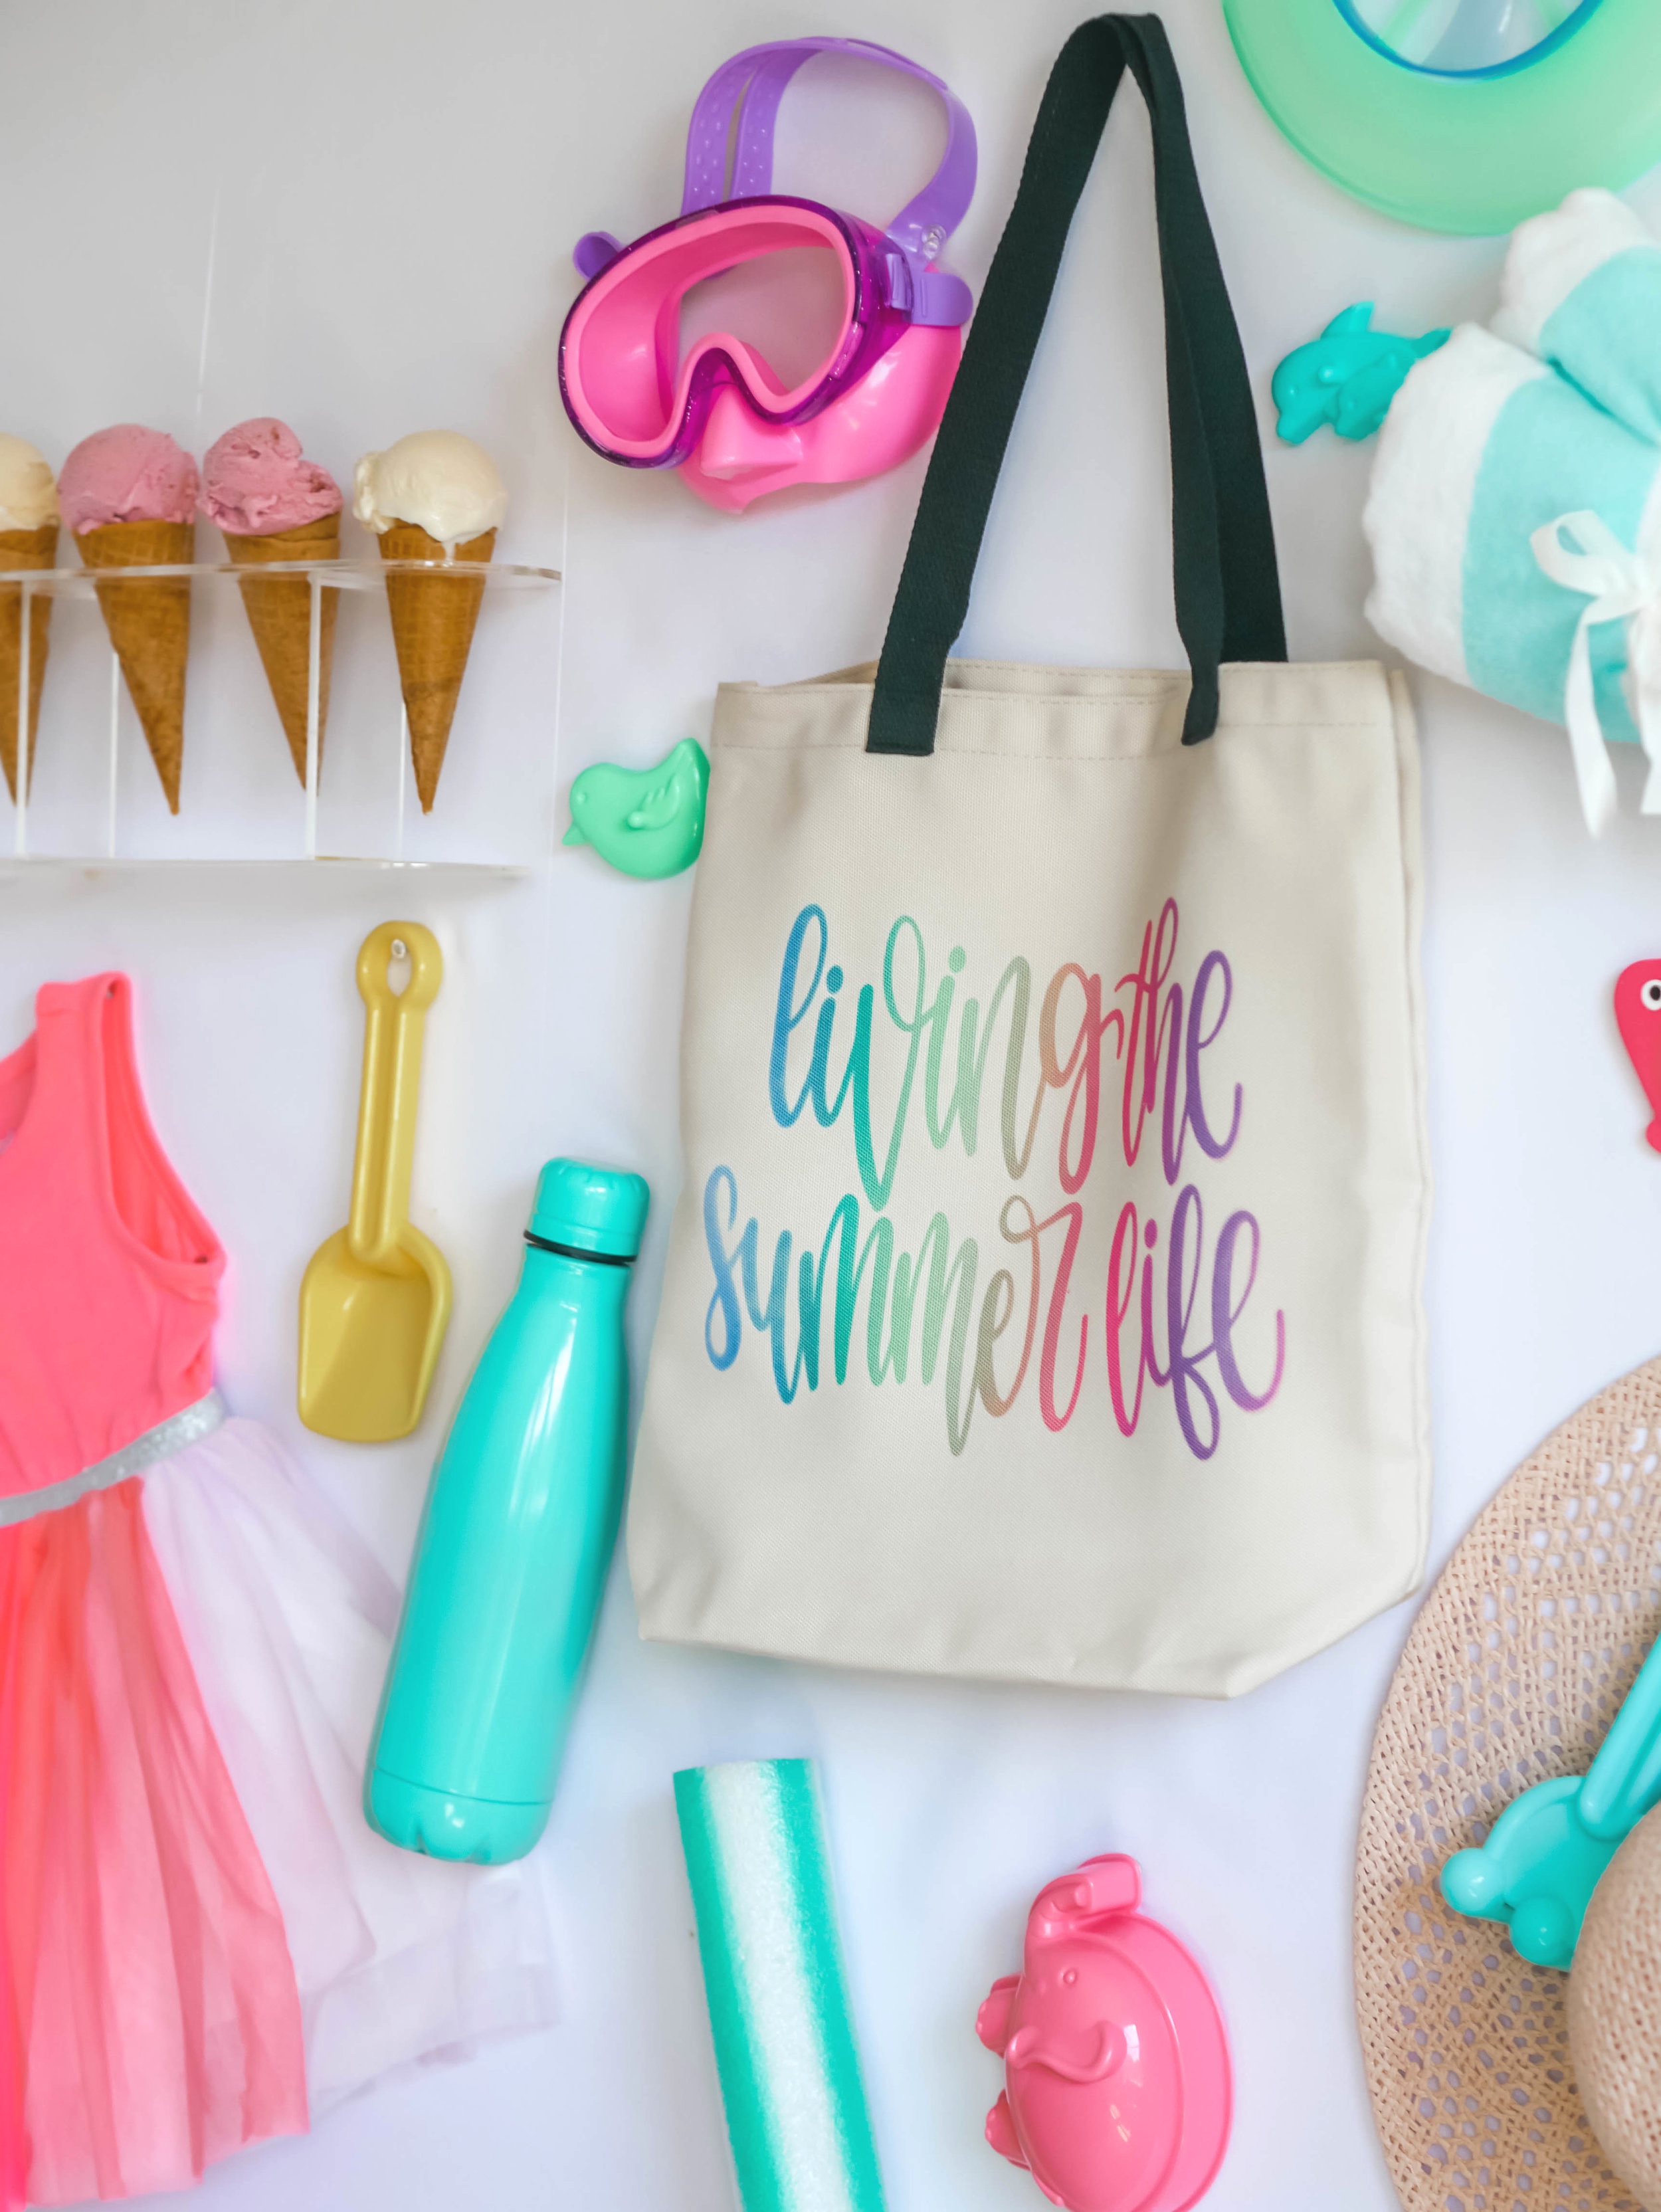
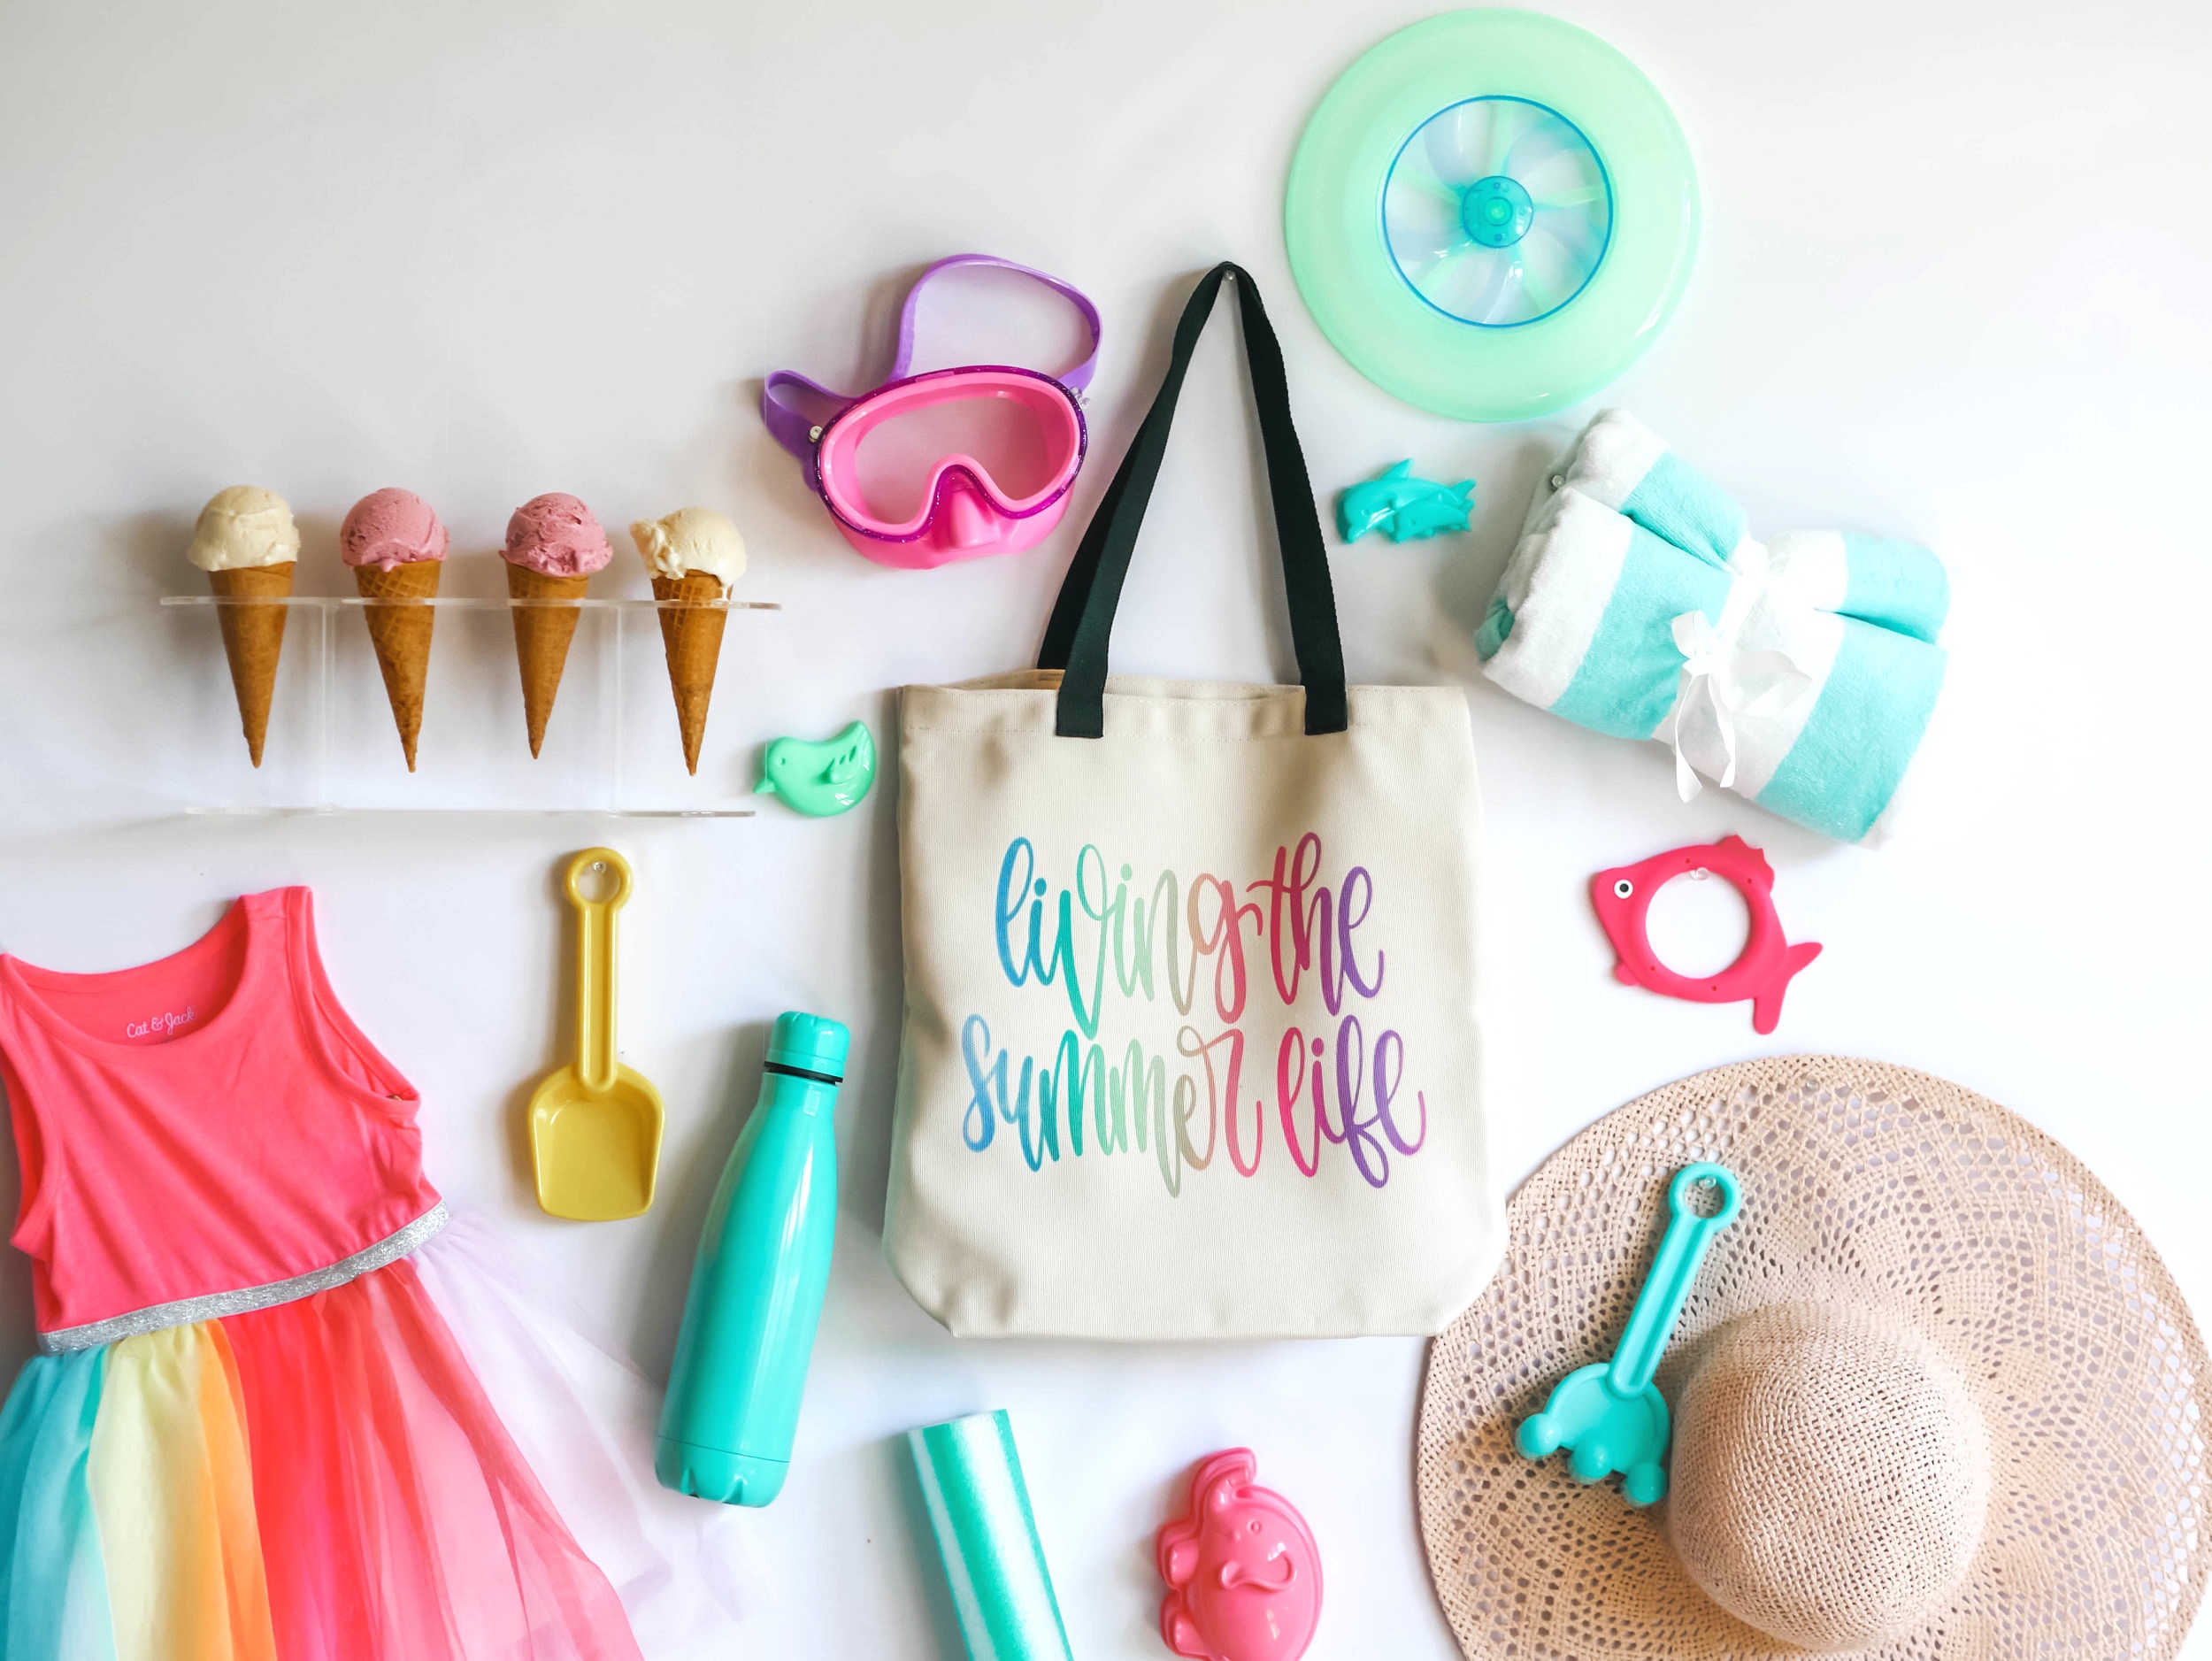
However, I took some time aside to craft because I can’t stop crafting (not even in the summer) and I made this adorable tote bag in no time with my Cricut Explore Air 2 and their new Infusible Ink!
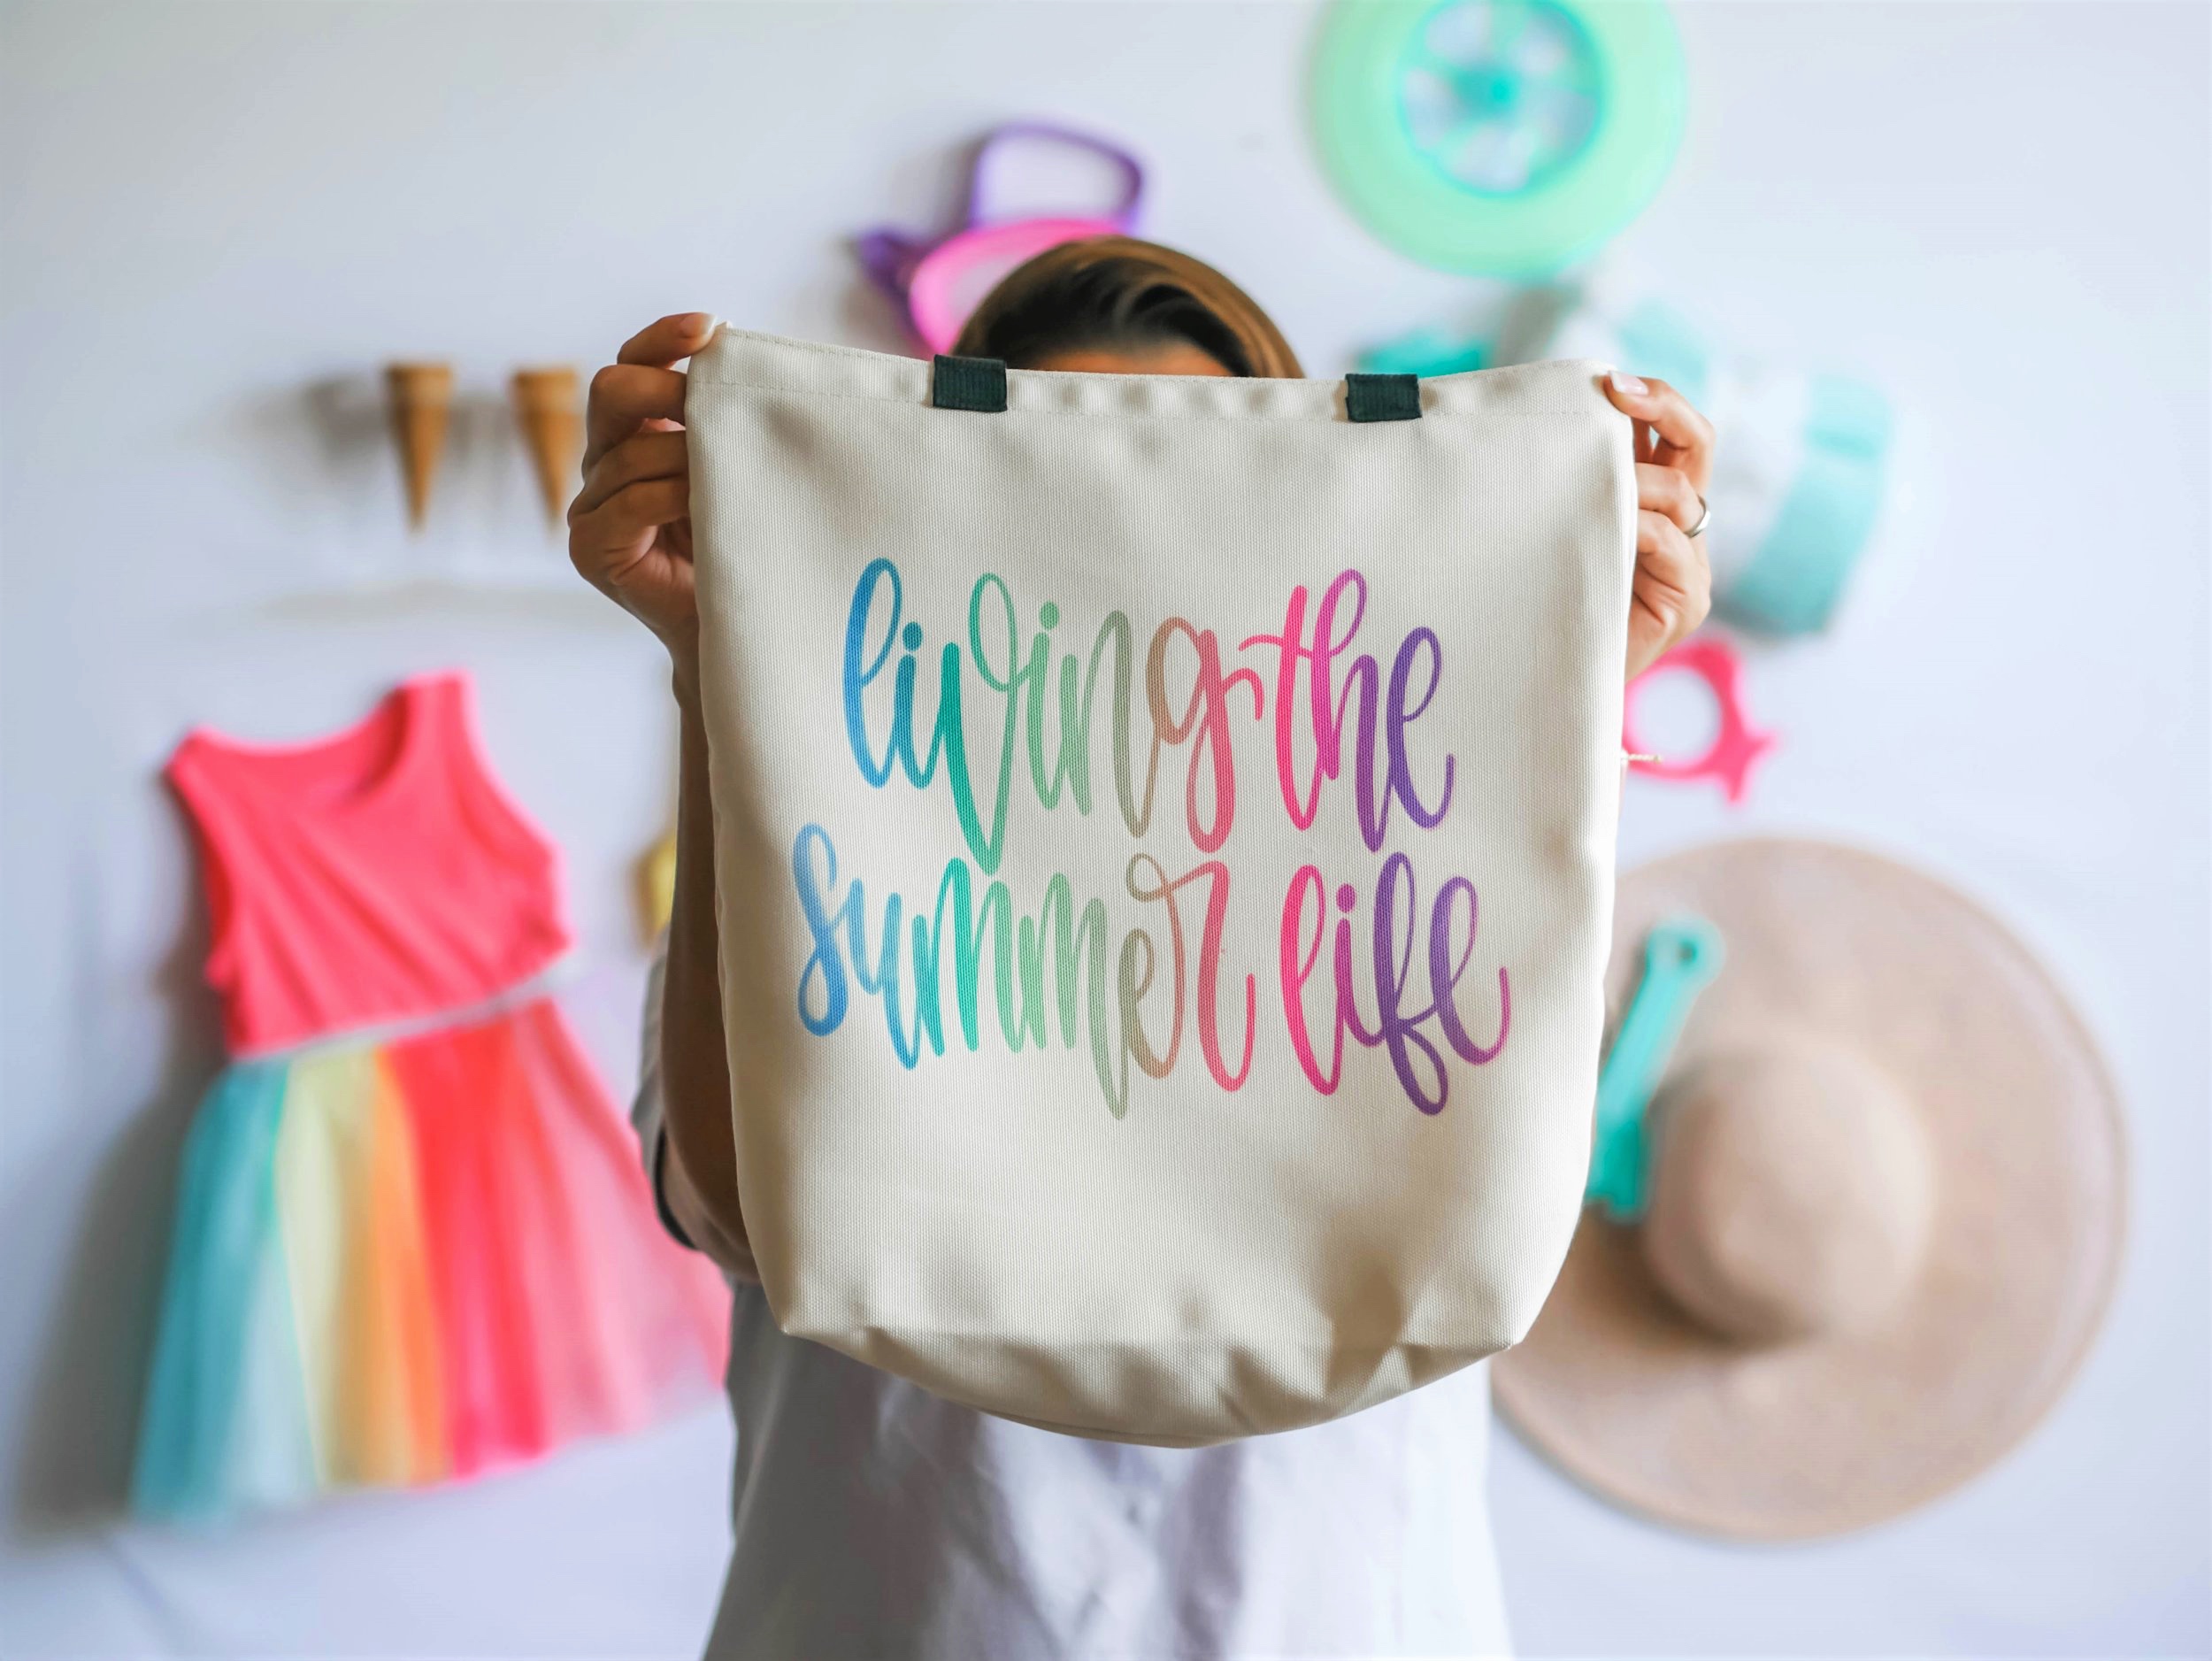
Want to know how I did it?
Well, I prepared a step by step for you…
So follow along!
The first thing you need to know, is that the only place where you can get Cricut’s Infusible Ink is at Michaels Stores, so the next time you are there, make sure to stop by and take a look at the NEW Cricut products or why wait?! You can go ahead and browse around here.
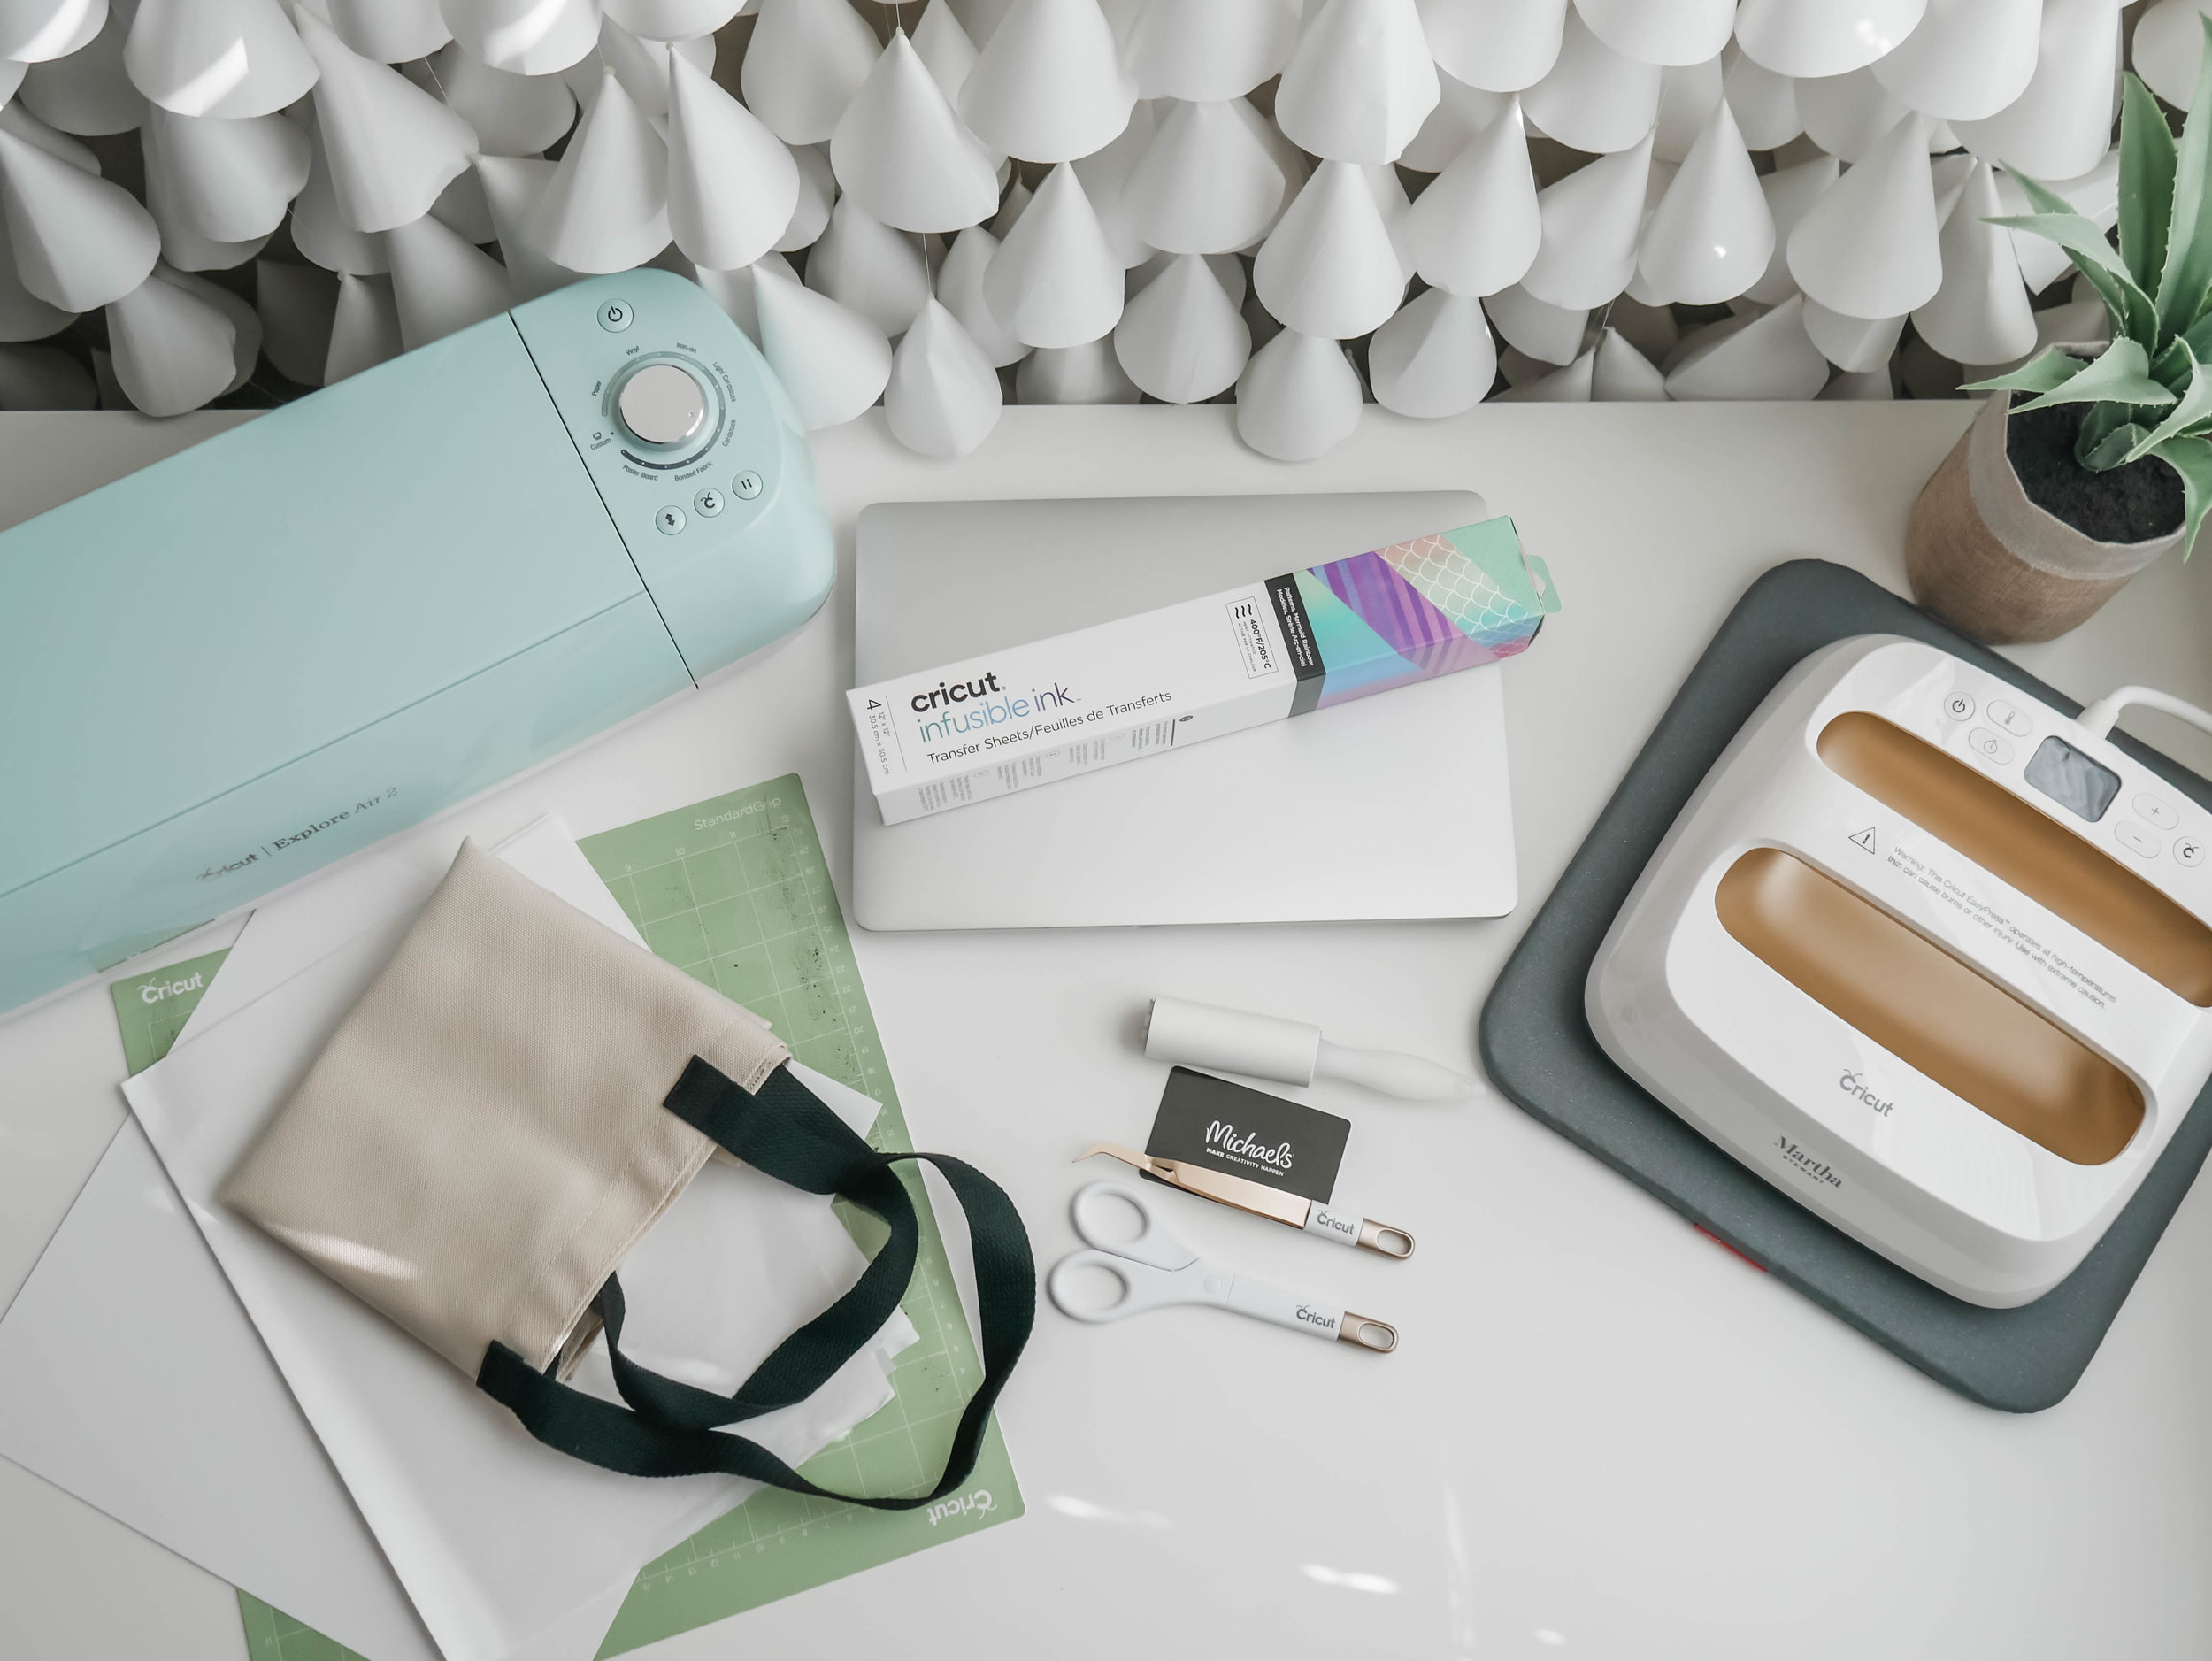
What you need to create this tote bag:
Cricut Maker or Cricut Explore Cutting machine
Standard Grip Machine Mat
Cricut Easy Press
Cricut Easy Press Mat
Cricut Tote Bag
Infusible Ink Transfer Sheet
White Cardstock
Butcher Paper
Lint Roller
Scissors
Tweezers
Design Space Software
Step 1:
Once you have your Infusible Ink selected, place it onto the Standard Grip Mat, with the liner side down.
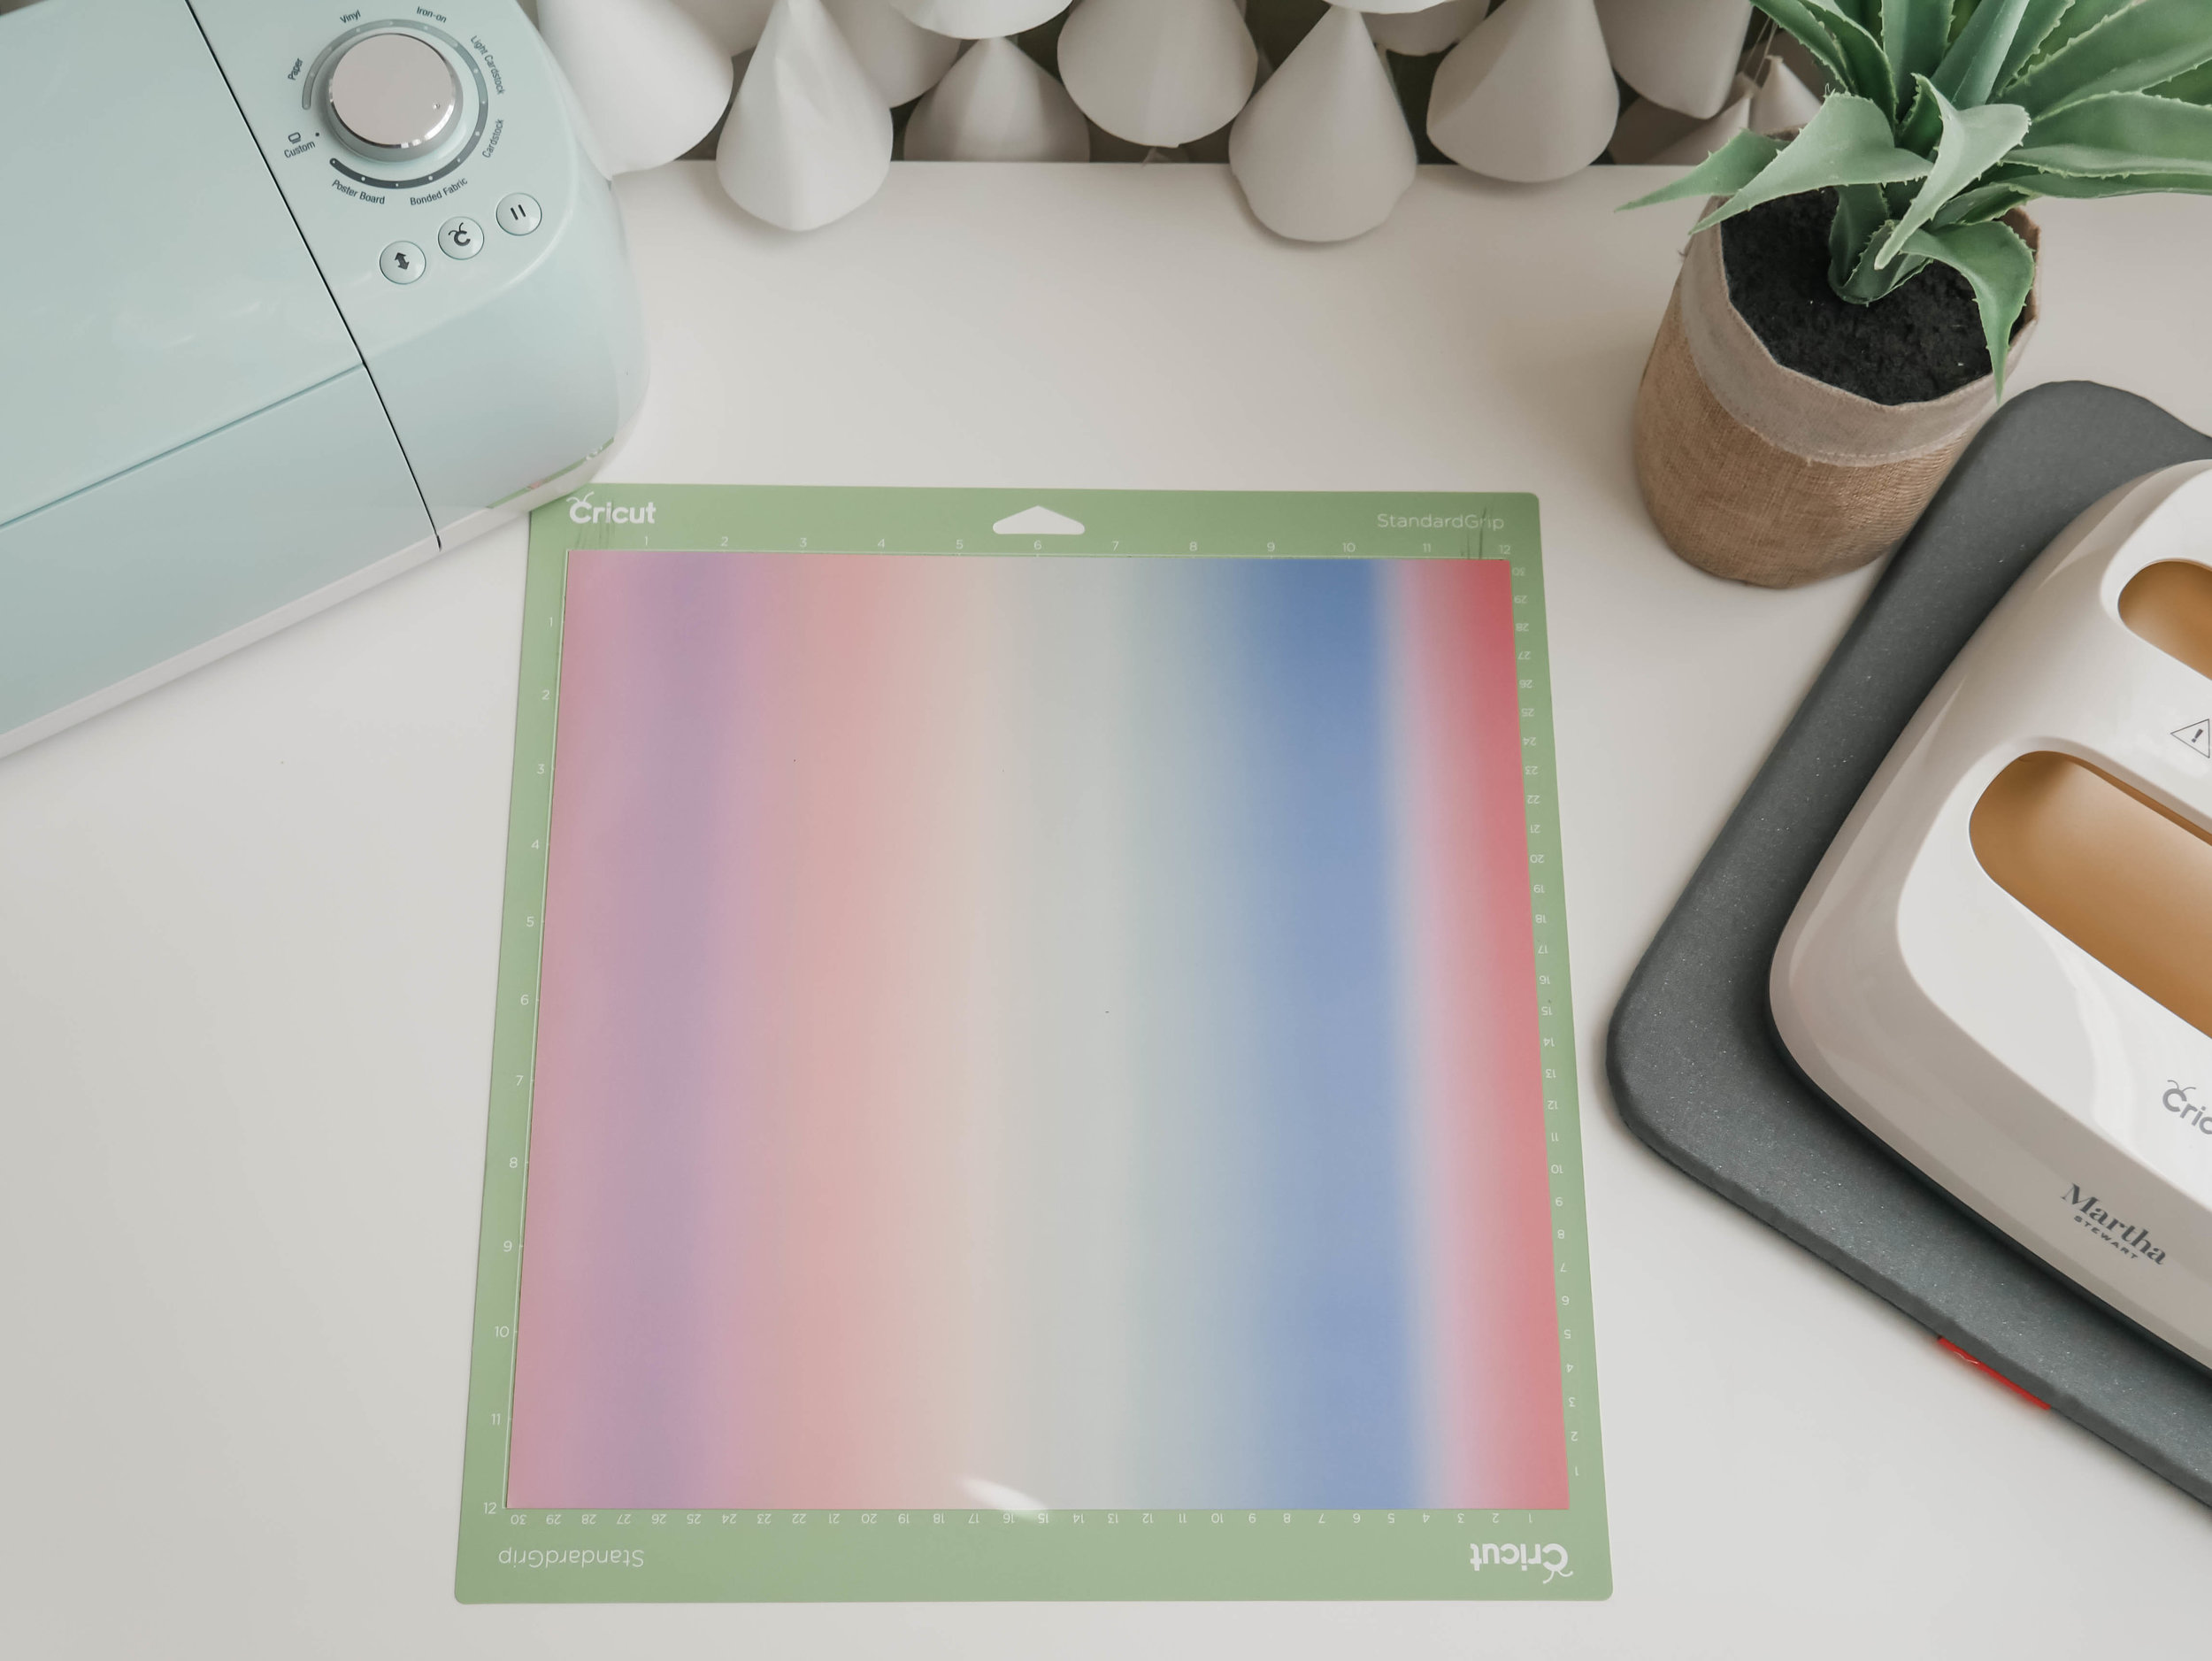
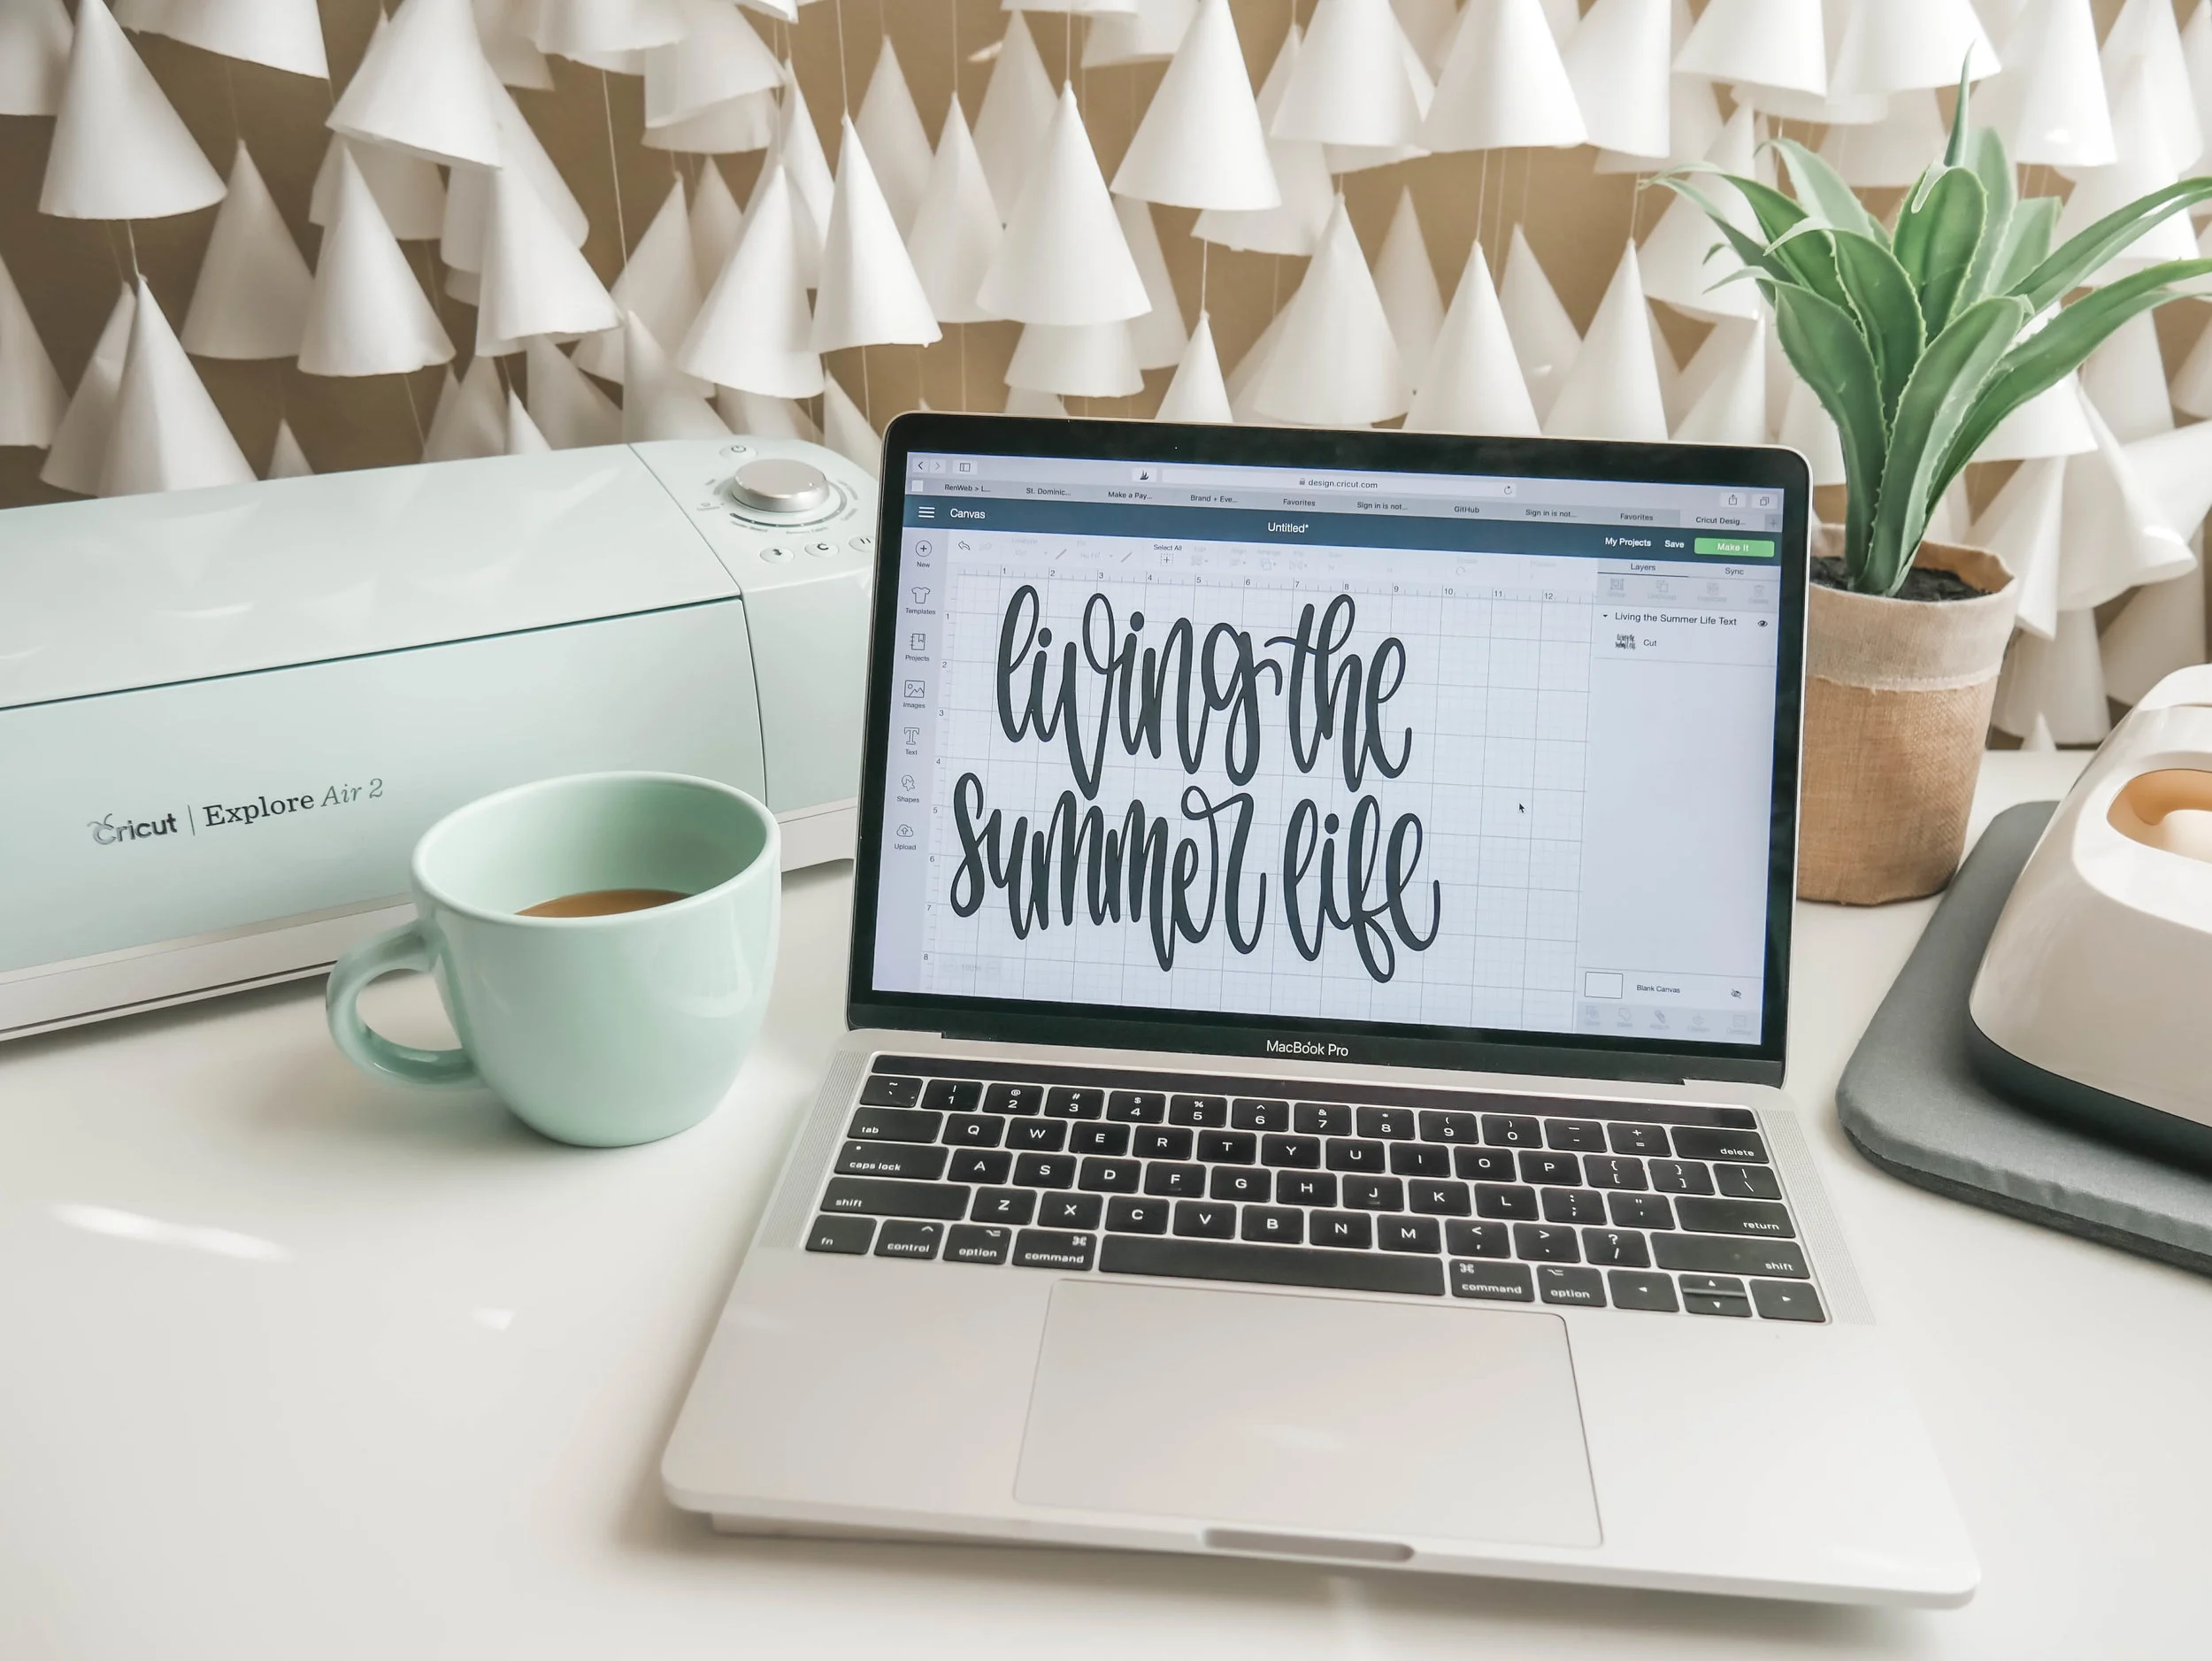
In Design Space, select and size your design to fit on the tote space.
Be sure to MIRROR your design before you cut.
Select “browse all the materials”, then choose Infusible Ink Transfer sheet,
if you are using the Cricut Explore Machine, turn the Smart Set Dial to custom first.
Load the mat and blade into the machine, then press the flashing GO button.
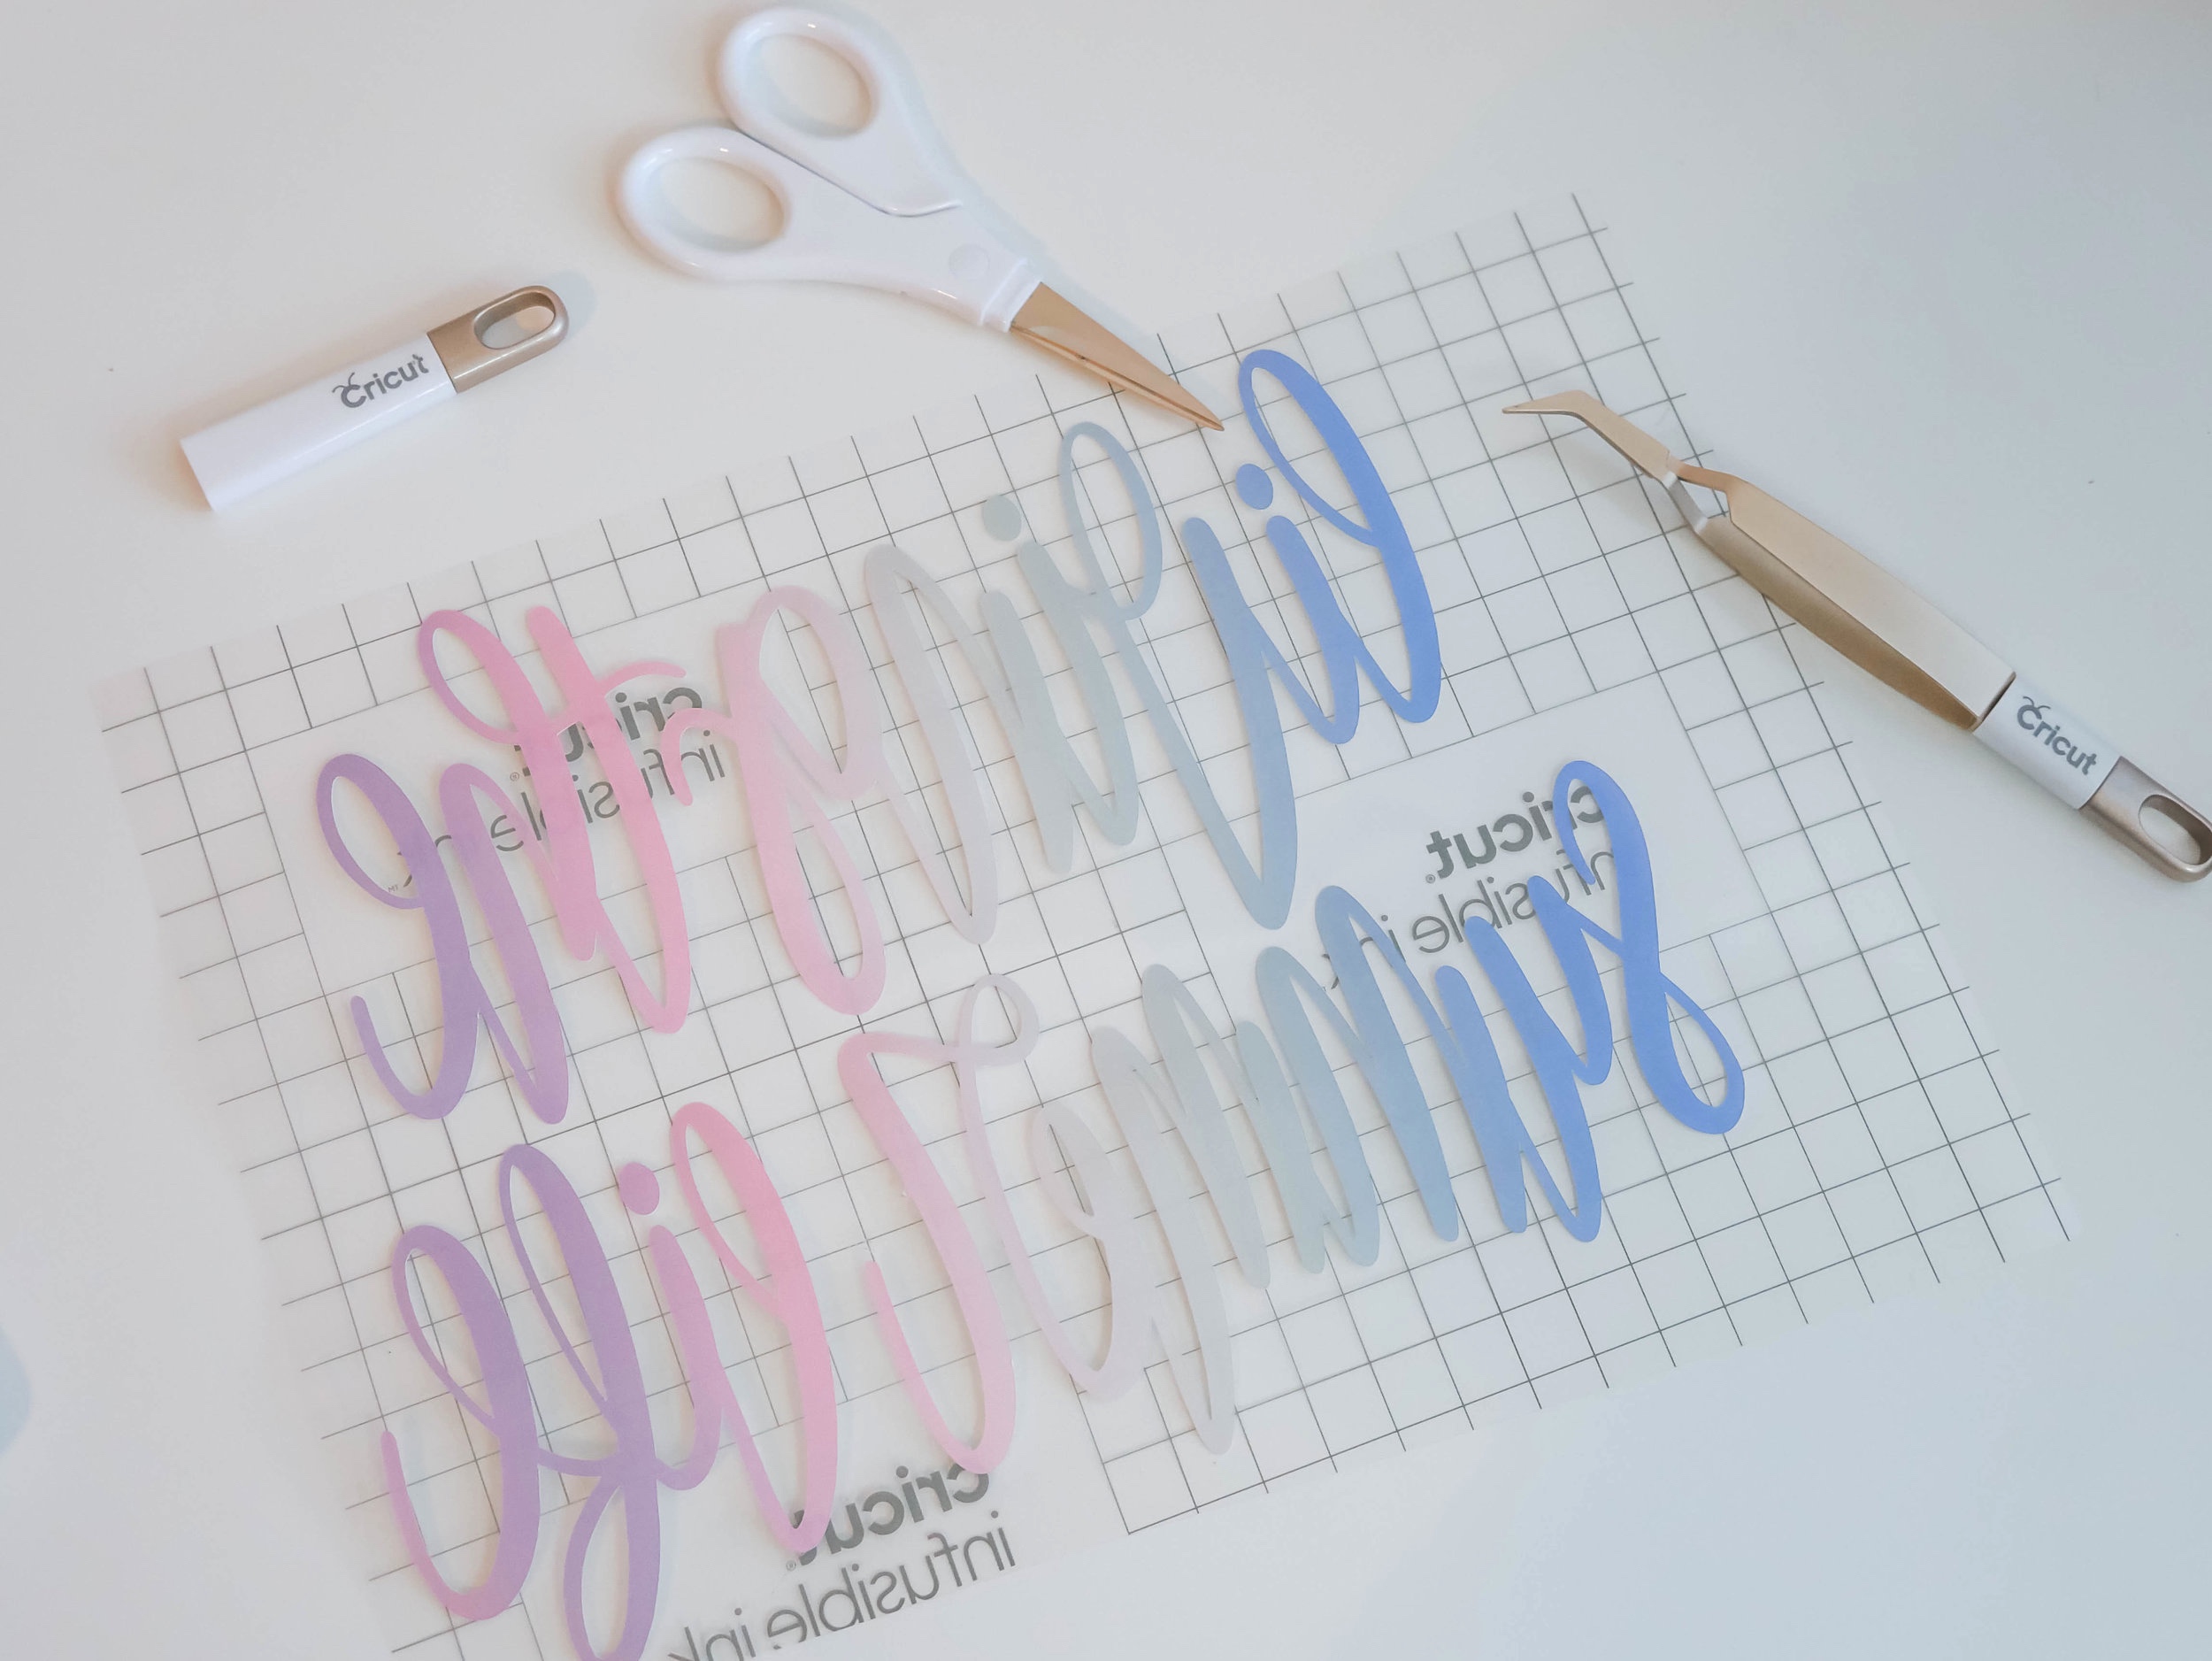
Step 2:
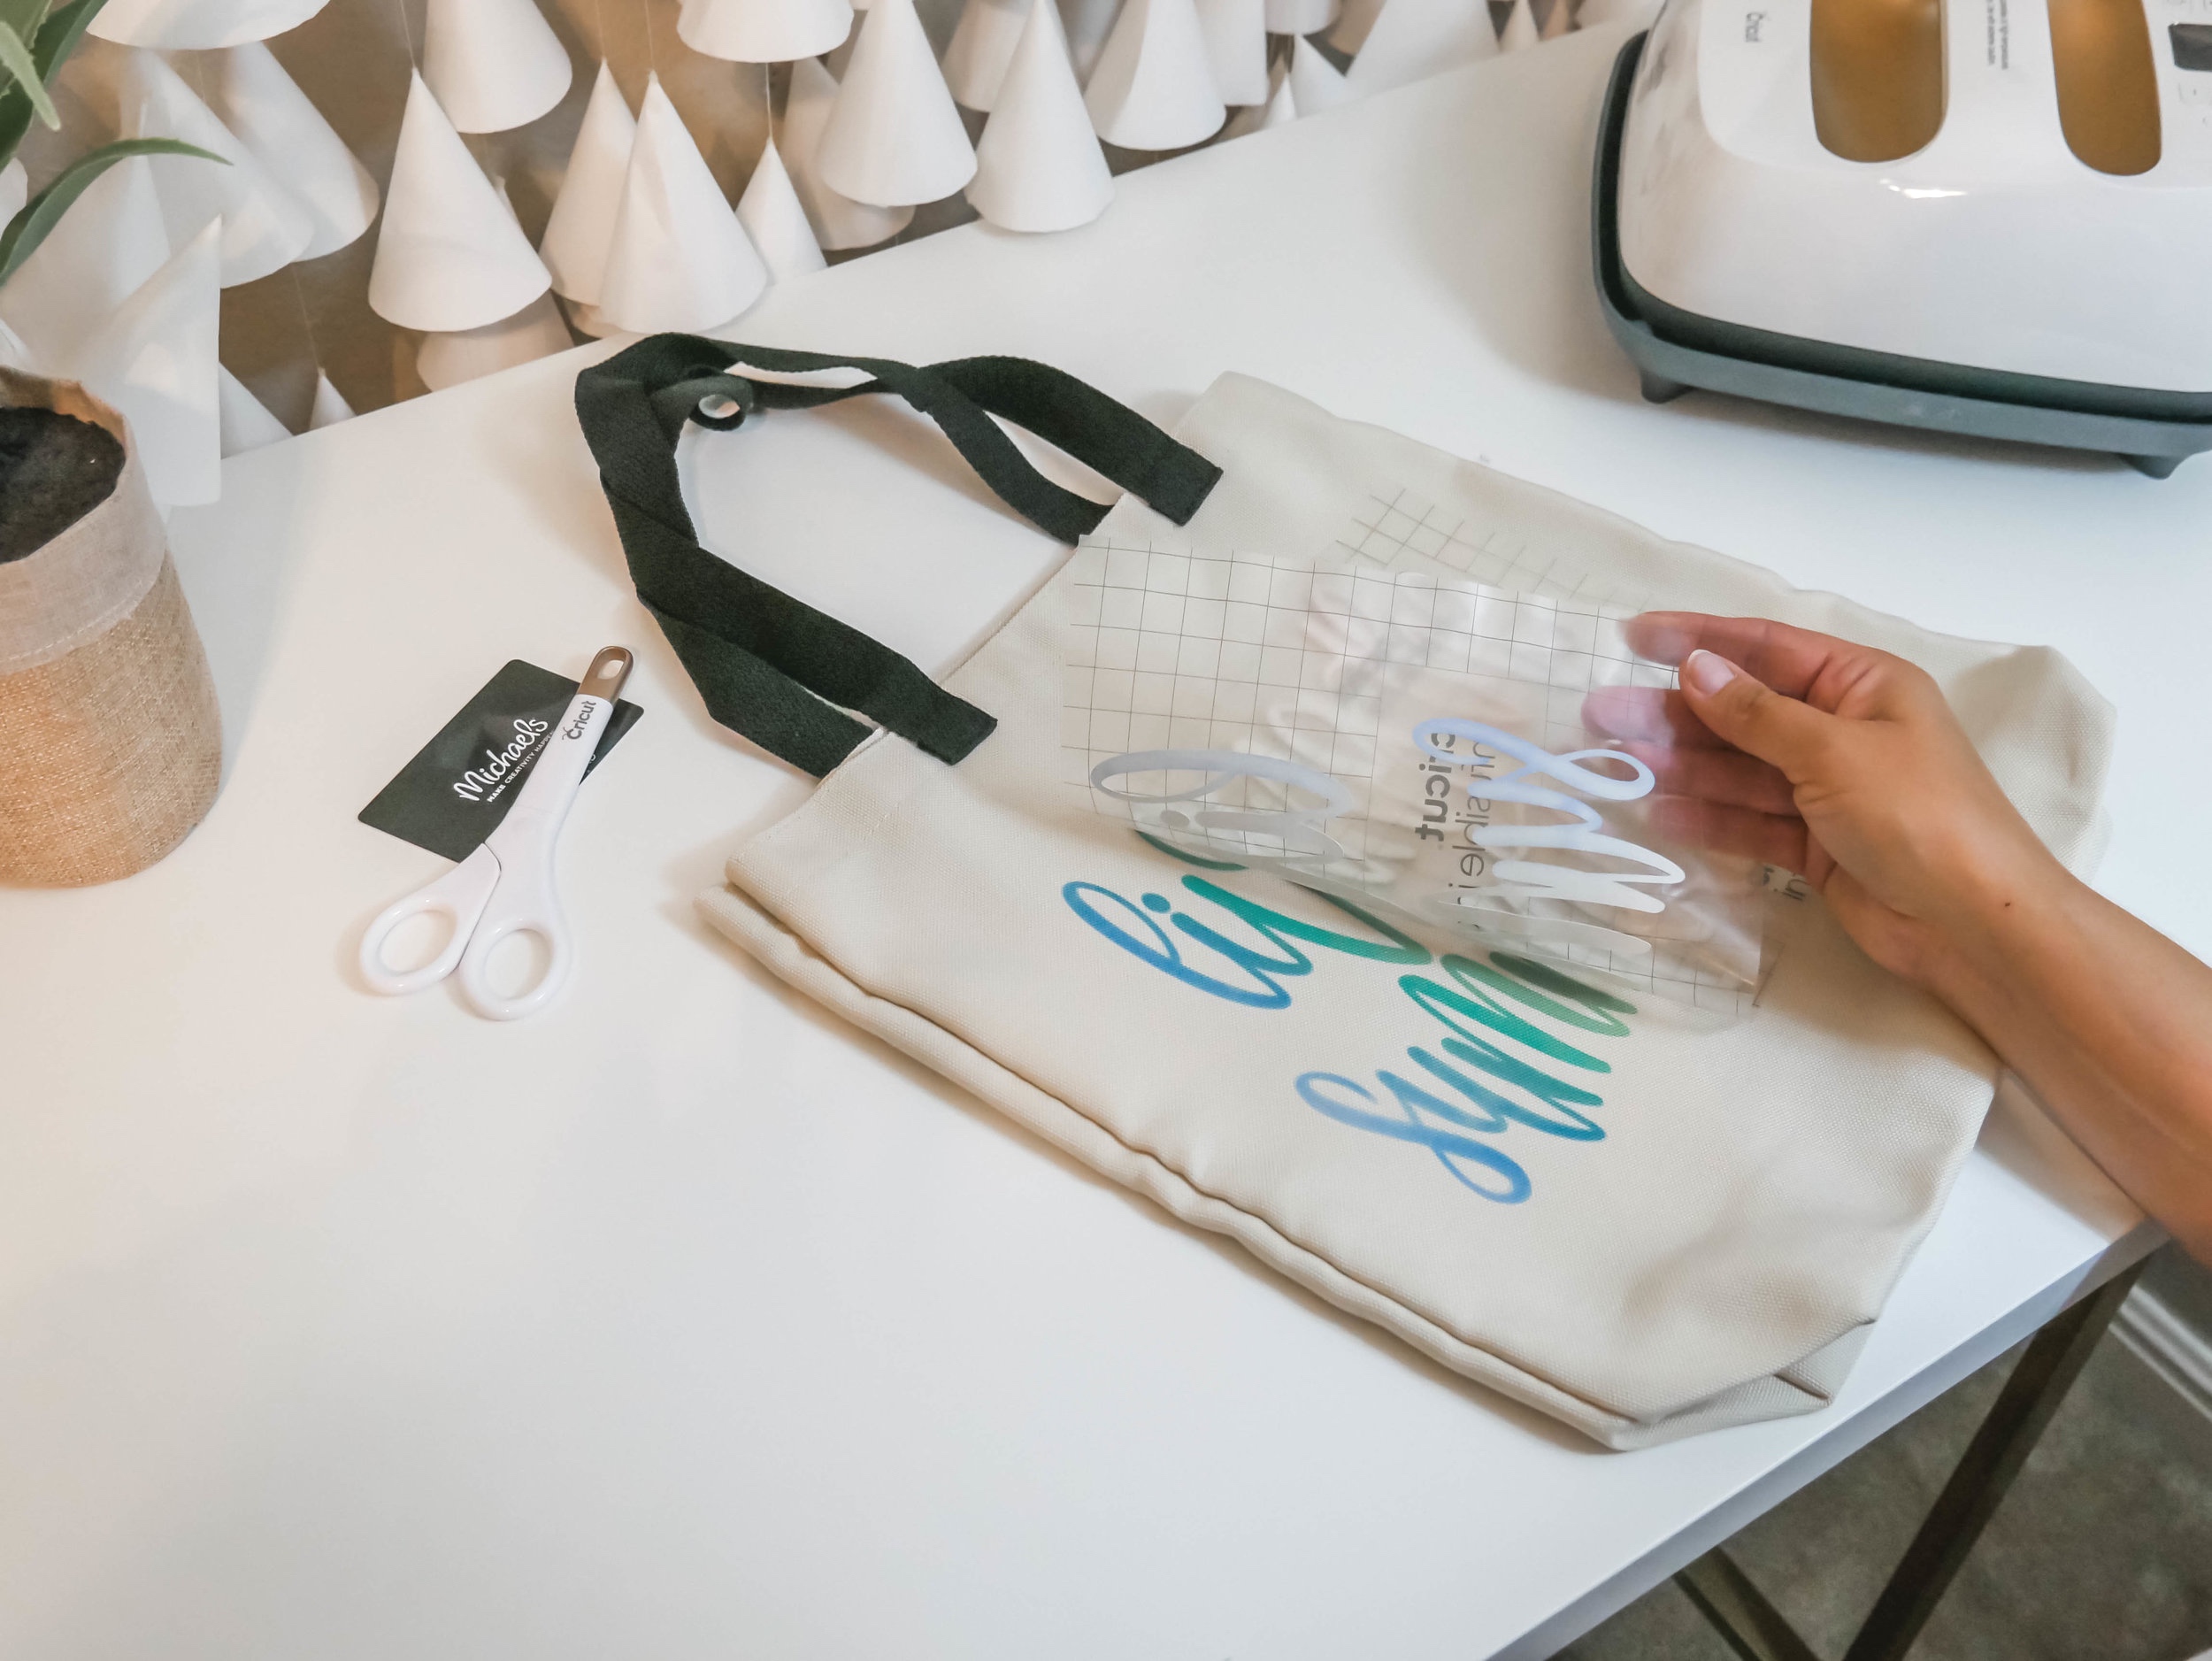
Remove cut design from mat and trim away unused area of sheet.
Gently roll cut design so cut lines separate and are more visible.
“Cracking” the cut this way makes it easier to remove excess paper from in and around your design.
Use your fingers or tweezers to carefully remove negative pieces from in and around your design, leaving design on liner.
Trim clear liner so that it does not extend beyond Cricut Easy Press heat plate.
Step 3:
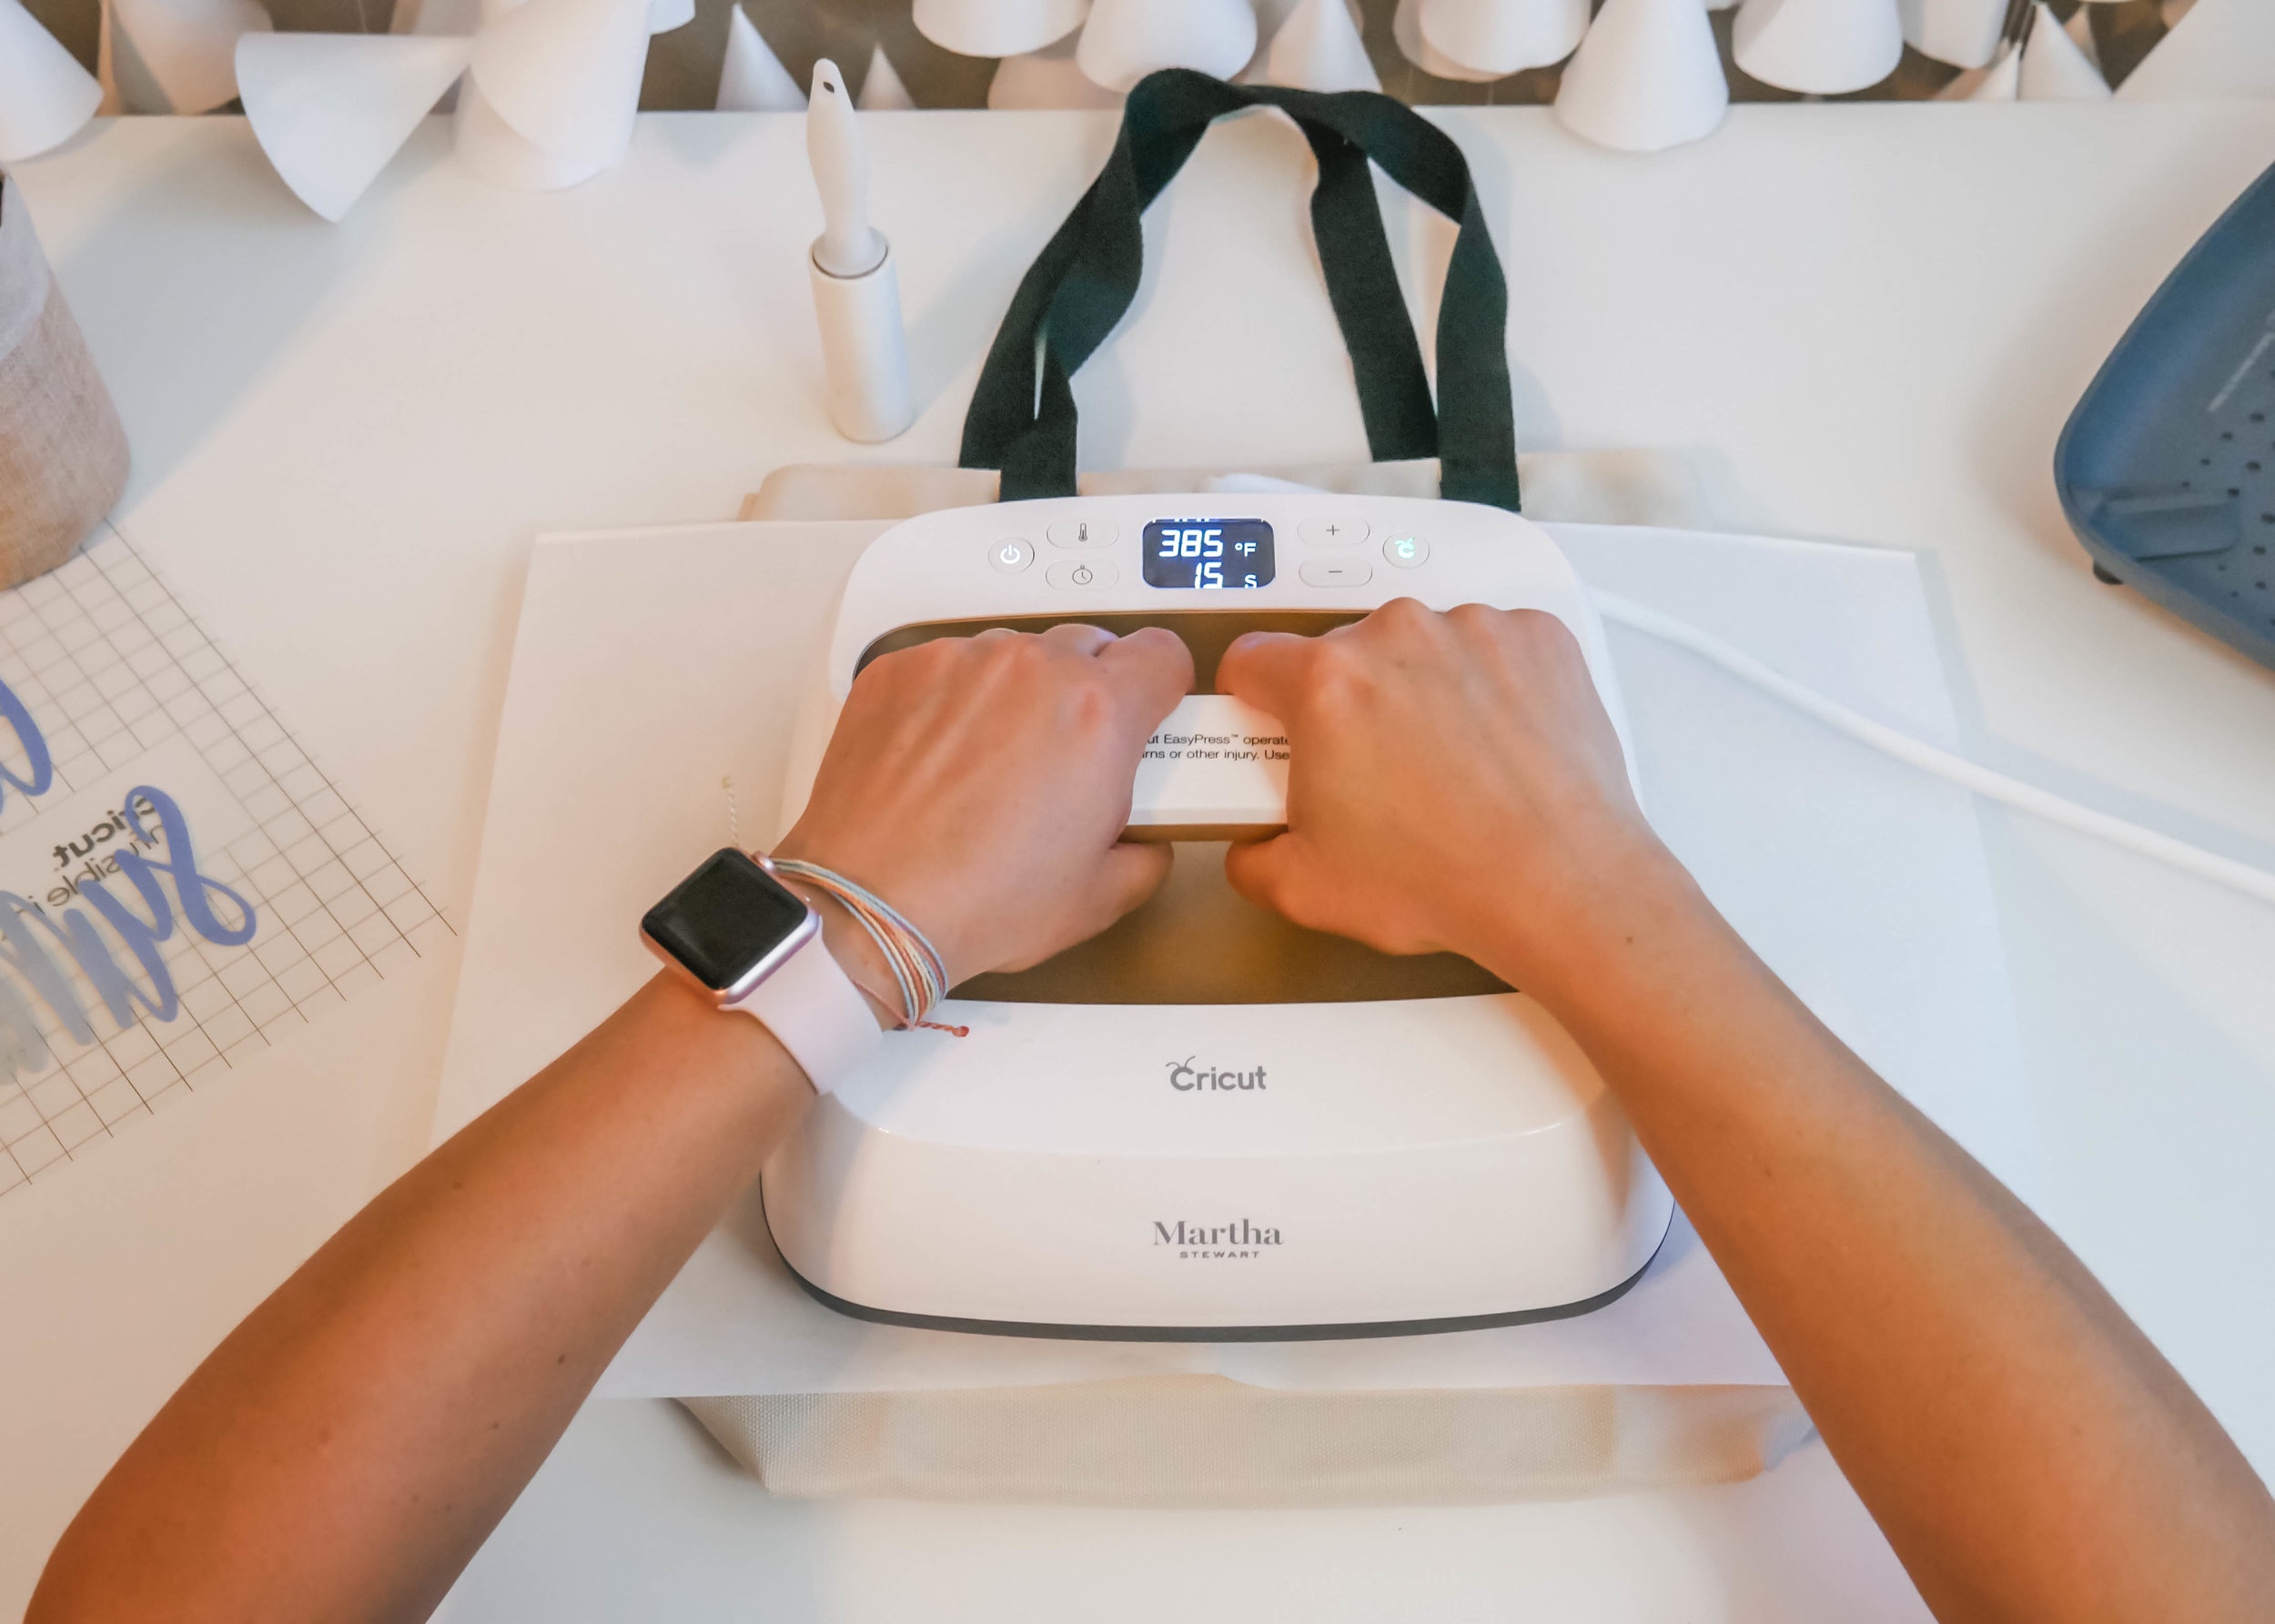
Tip: Now is a good time to prep your Cricut EasyPress. For precise temp, time, and pressure settings for your project, always refer to the Cricut EasyPress Heat Transfer Guide.
For this project, set your Cricut EasyPress 2 to 385° F/ 195° C and 15 seconds.
Place cardstock on top of Cricut EasyPress Mat, then position both inside tote.
The cardstock will protect your mat and project.
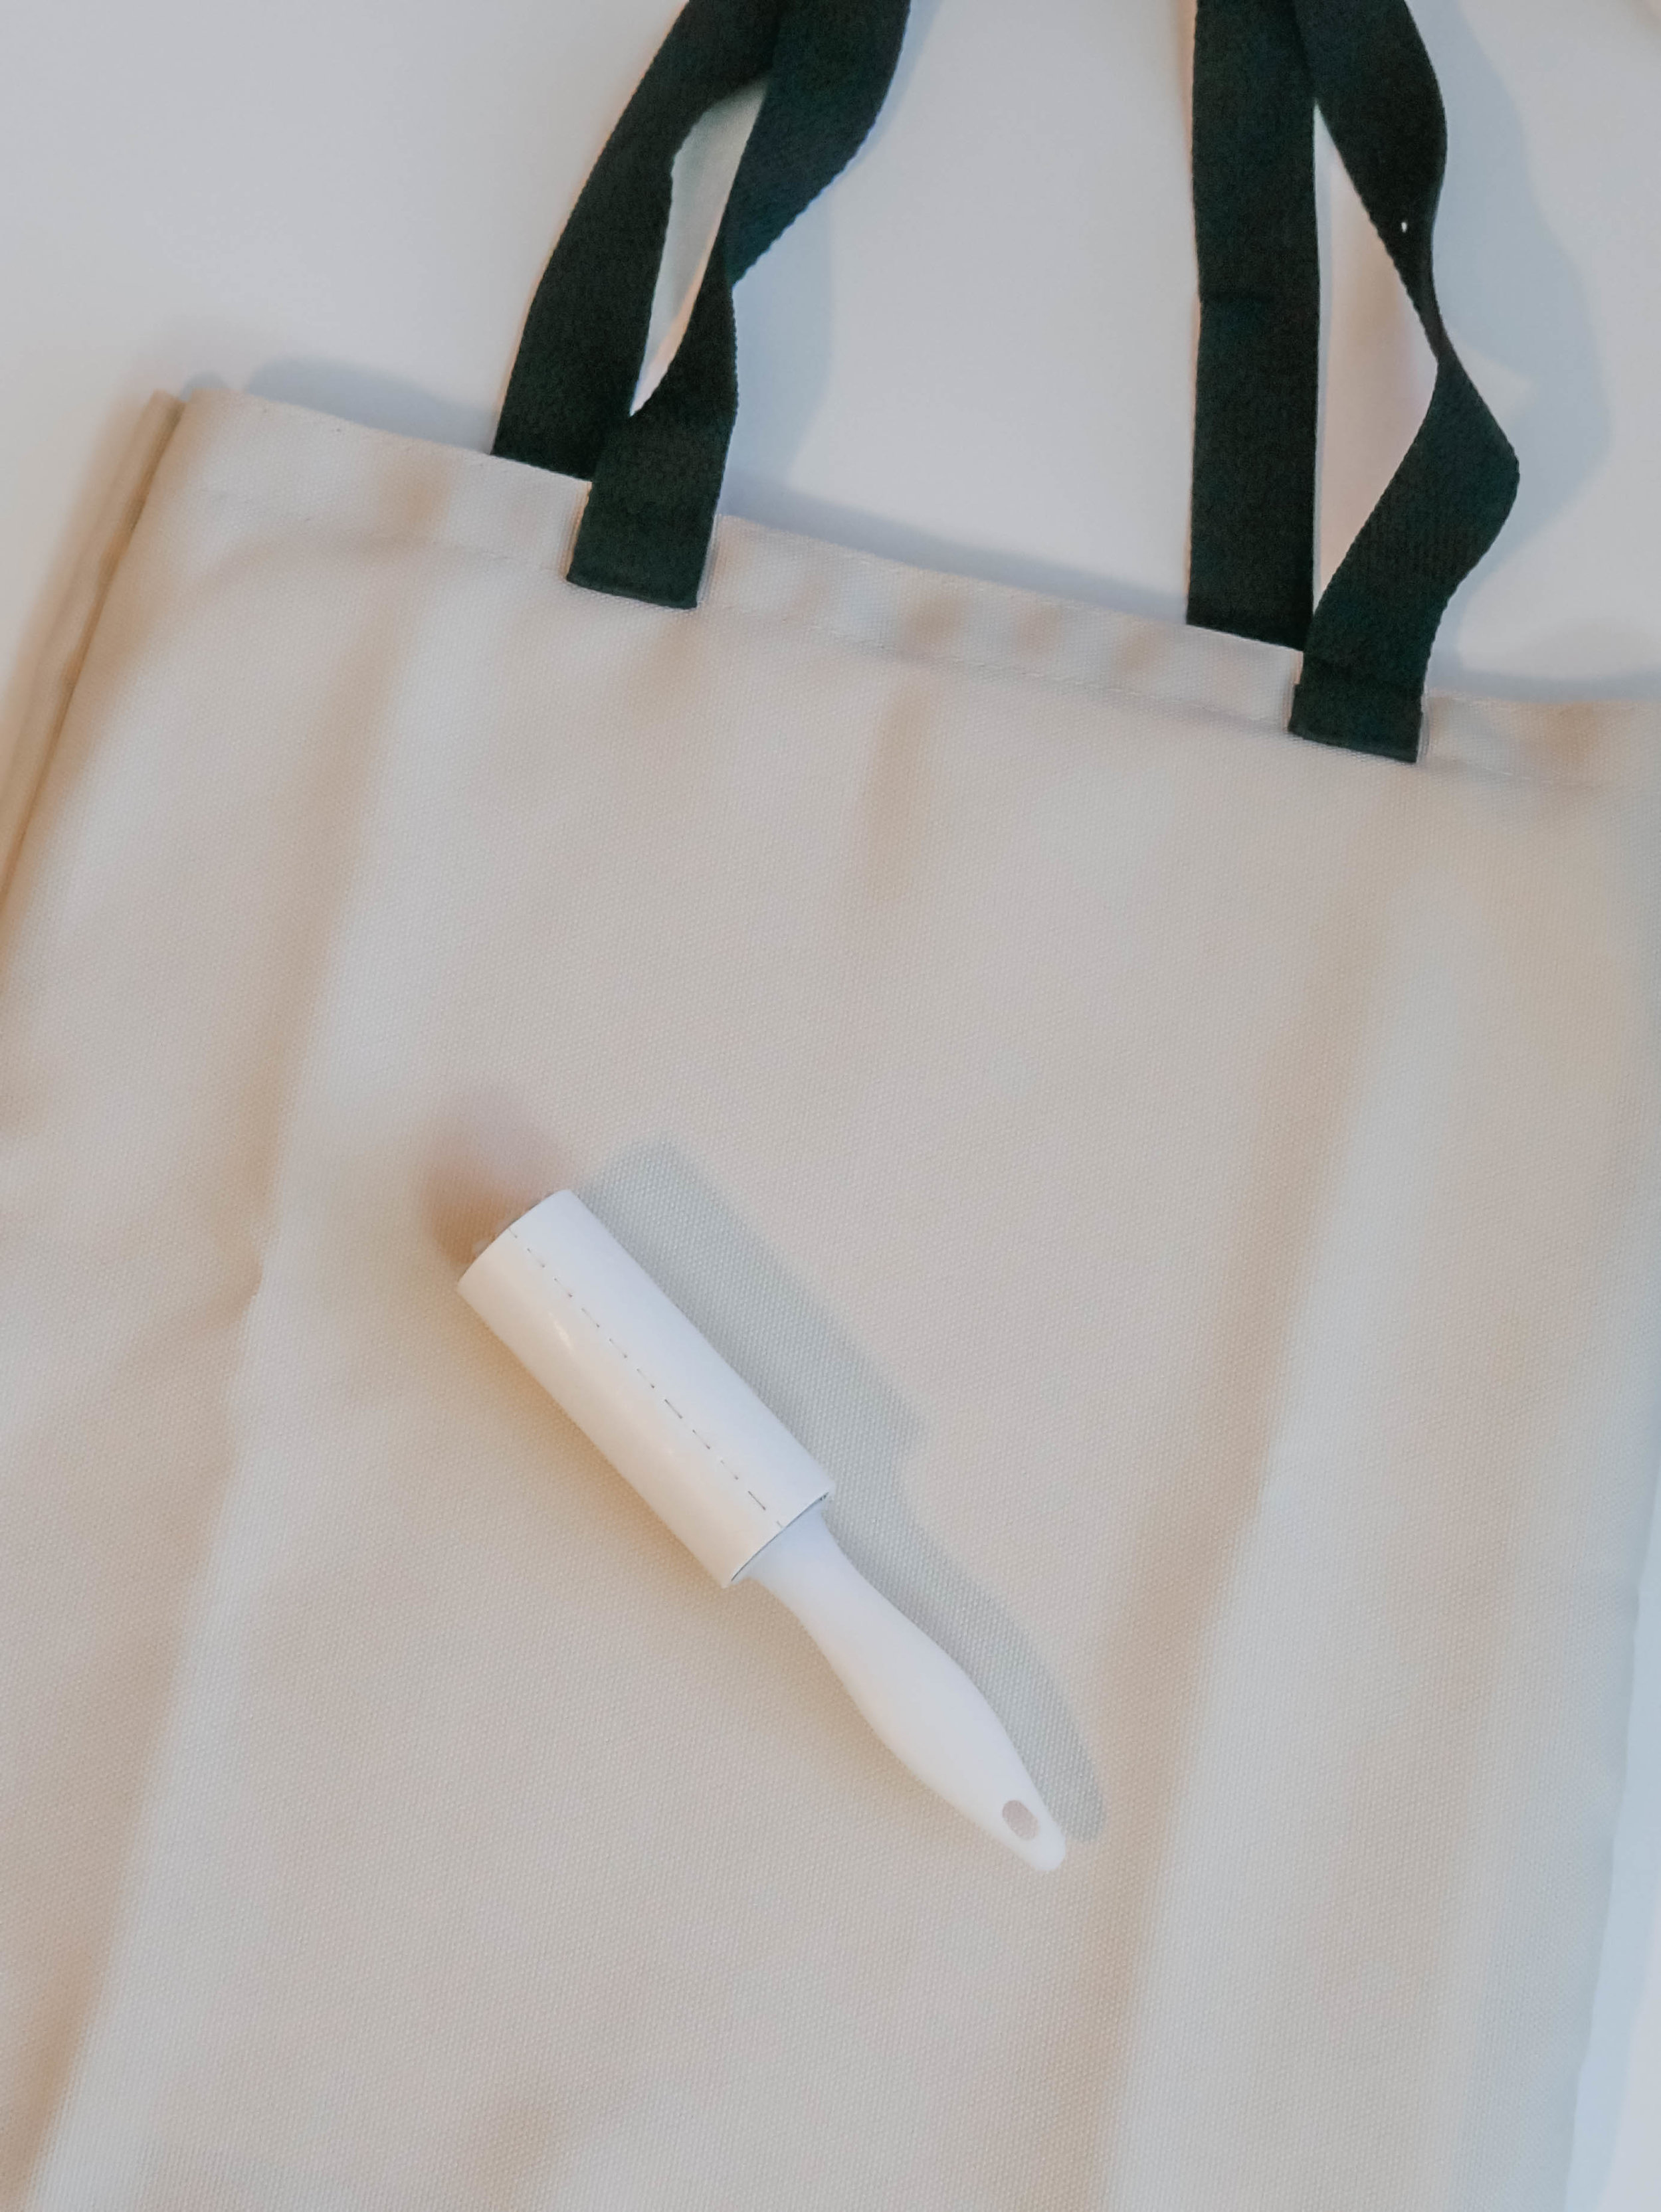
Do not skip this step: Use a lint-roll with a fresh adhesive to lint-roll the entire surface.
Even miniscule debris or fibers may create imperfections in the final transfer.
Cover blank with butcher paper.
IMPORTANT: Butcher paper MUST be larger than Cricut EasyPress heat Plate.

DO NOT SKIP THIS STEP: Pre-heat application area to remove moisture and wrinkles that result in unwanted effects.
For this project press at 385° F/ 195° C for 15 seconds using light pressure.
Remove butcher paper and let tote cool completely.
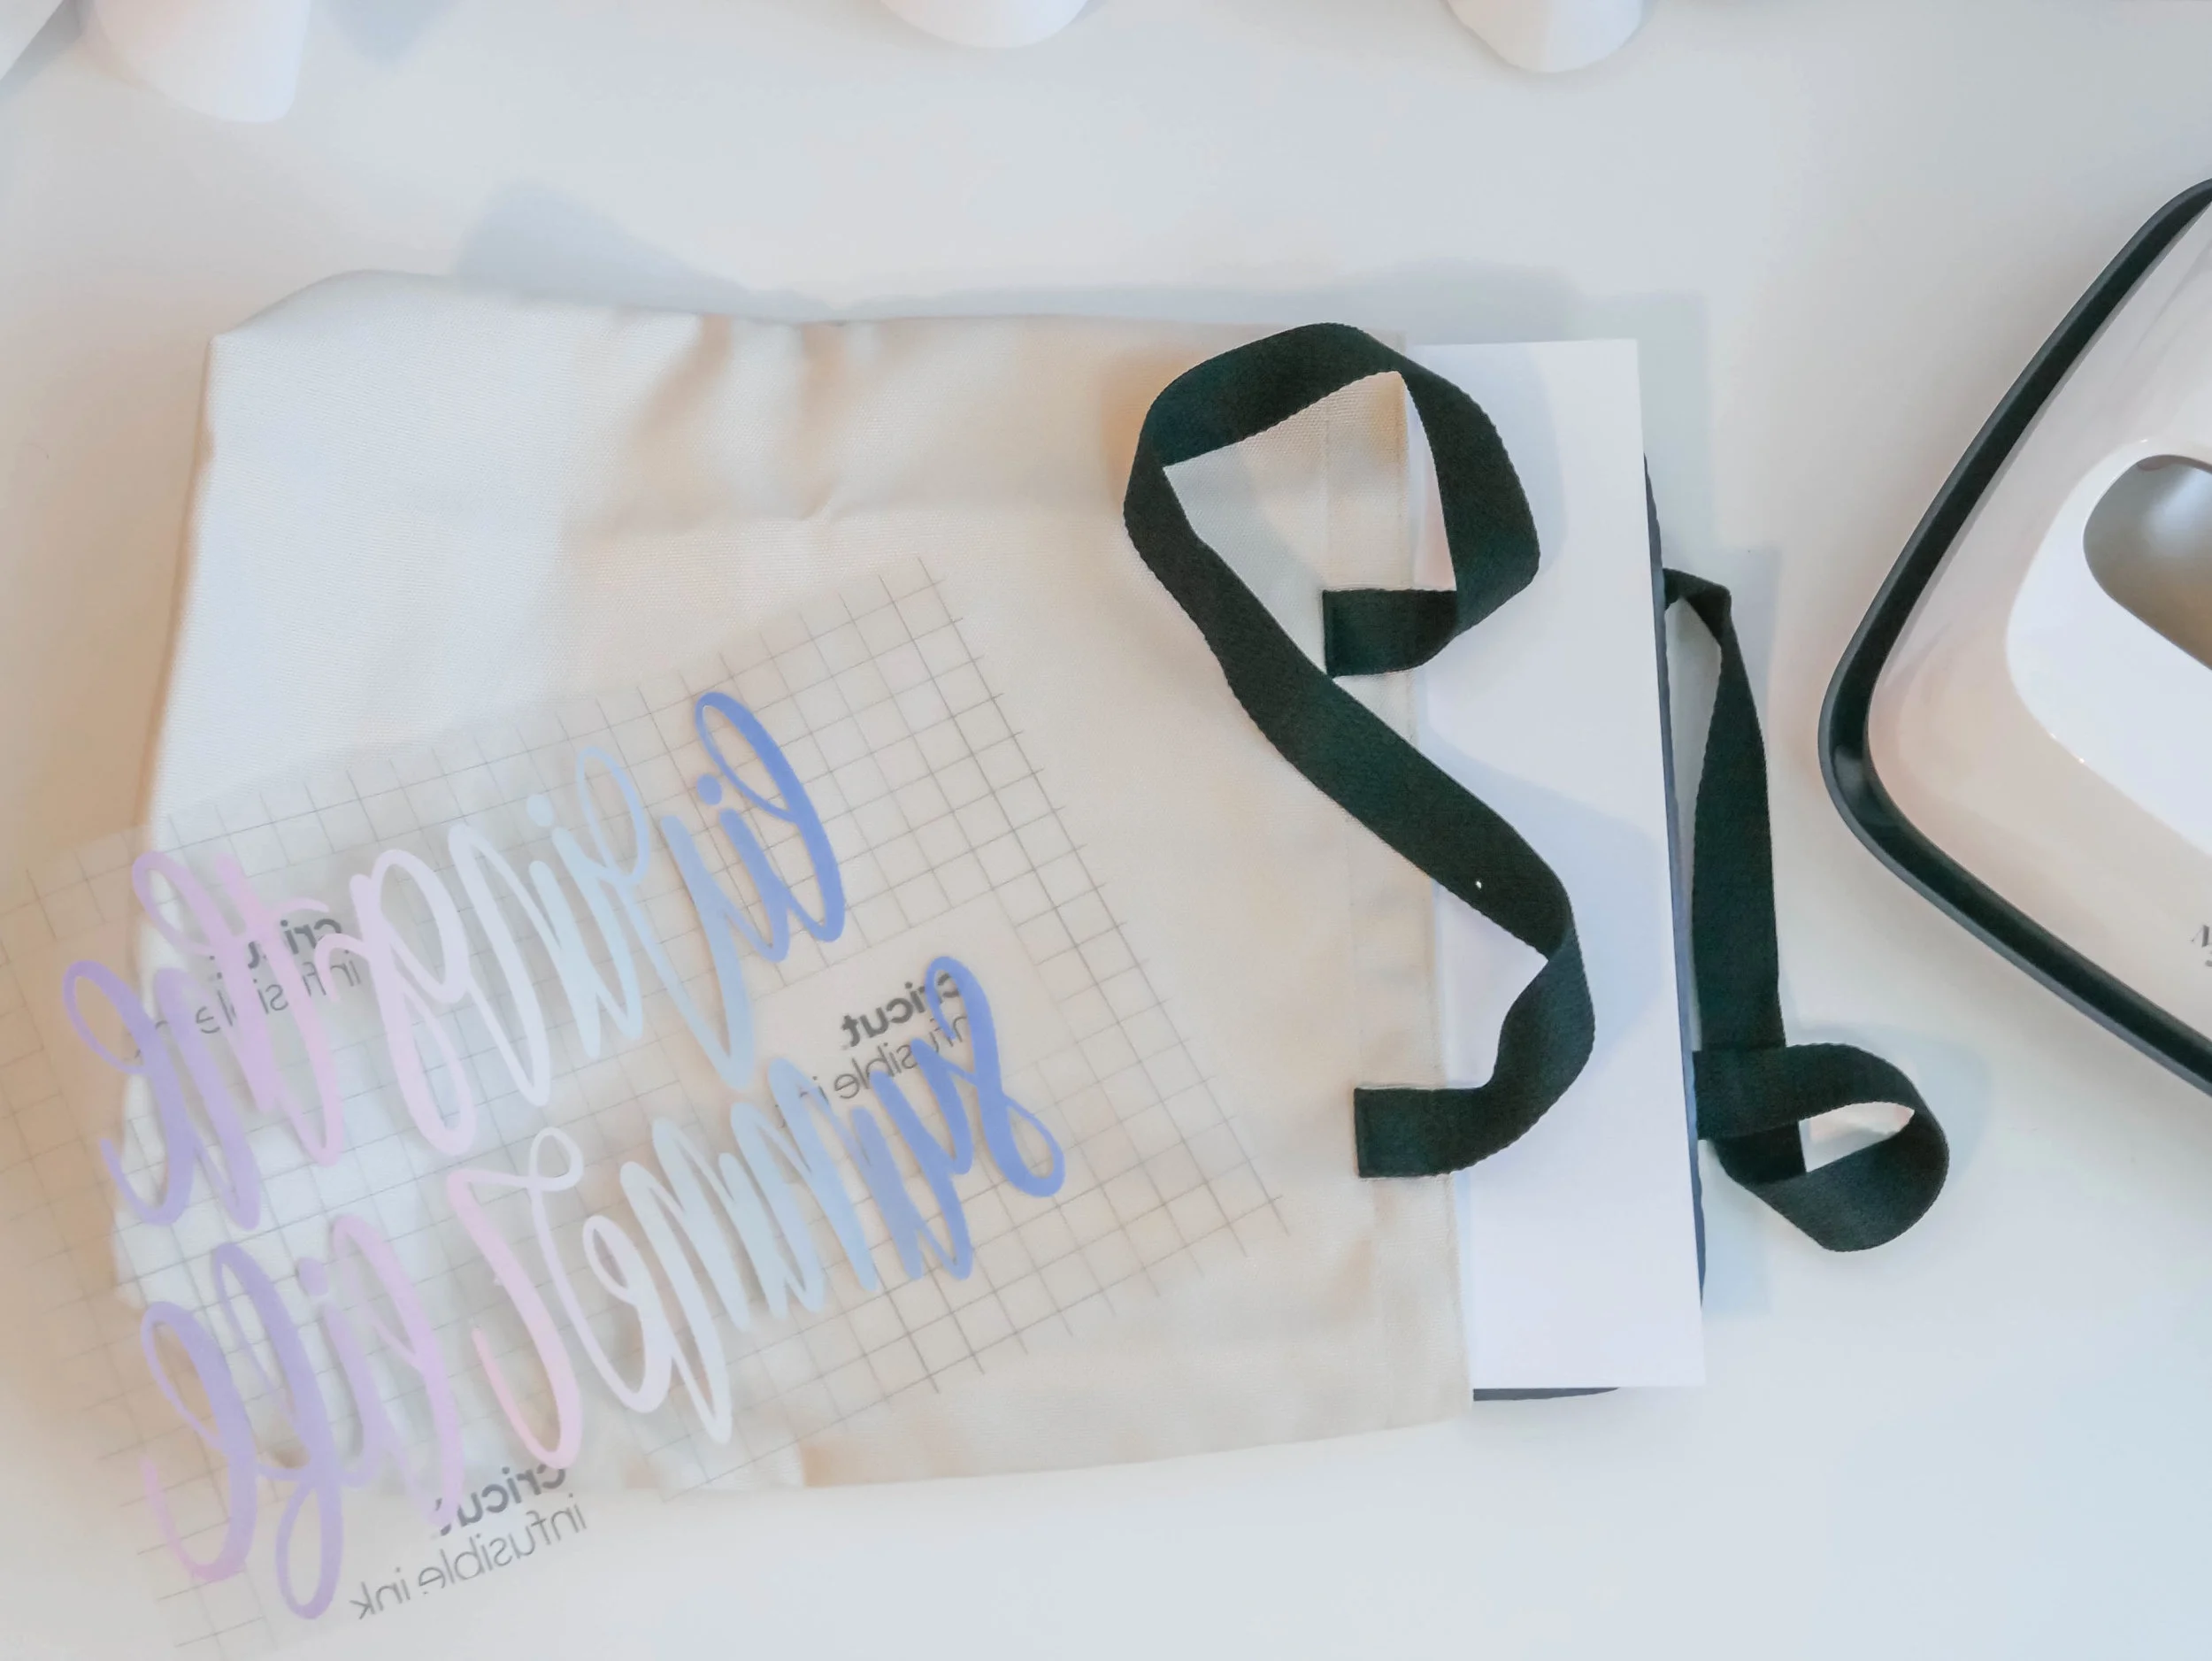
Place your design face down on tote.
The clear liner should be on top and the printed side of the Infusible Ink Transfer Sheet should be against the tote.
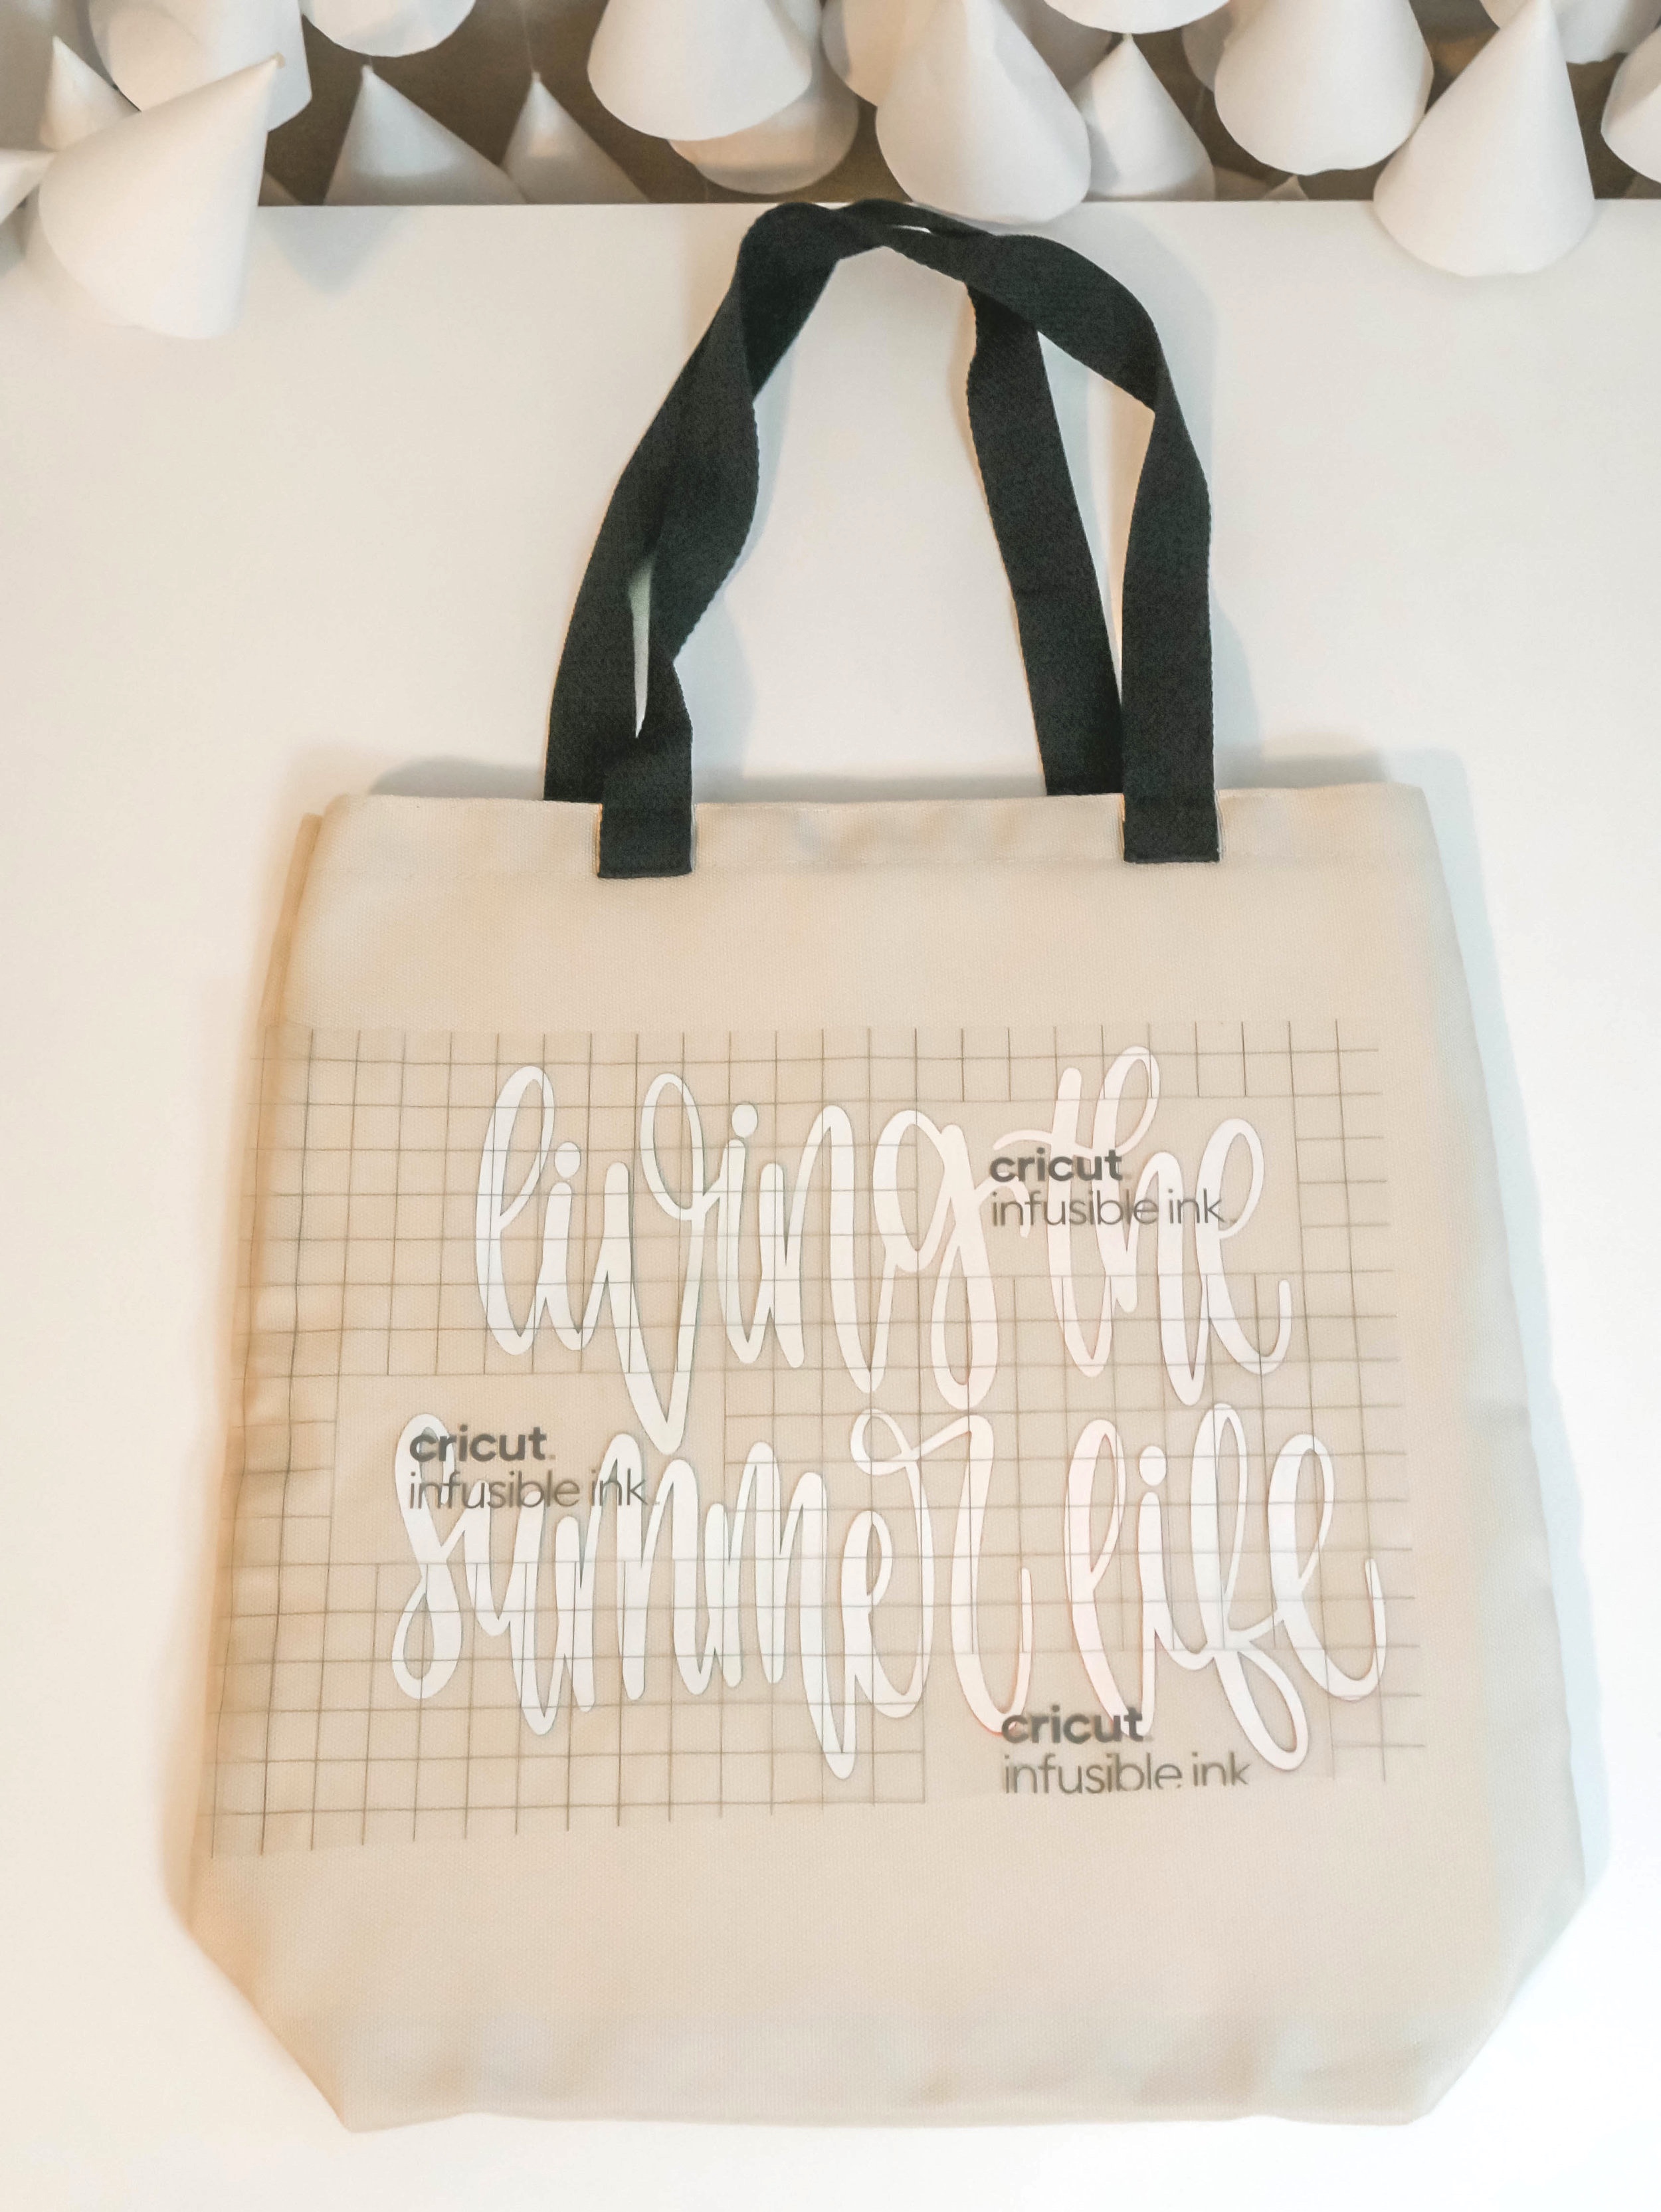
Place the butcher paper on top of the design.
Press with Cricut EasyPress.
For correct temp, time, and pressure settings, use Cricut EasyPress Heat Transfer Guide.
For this project press at 385° F/ 195° C for 40 seconds using light pressure.
When the time is up, slowly lift press. Try not to move the stack, including the butcher paper.
Let project cool completely. Slowly remove butcher paper, then slowly remove the laser paper.
Important: If design separates from liner and remains on blank, remove with tweezers.
Do not remove it using your fingers. This could cause an unwanted effects like ghosting or marbling.
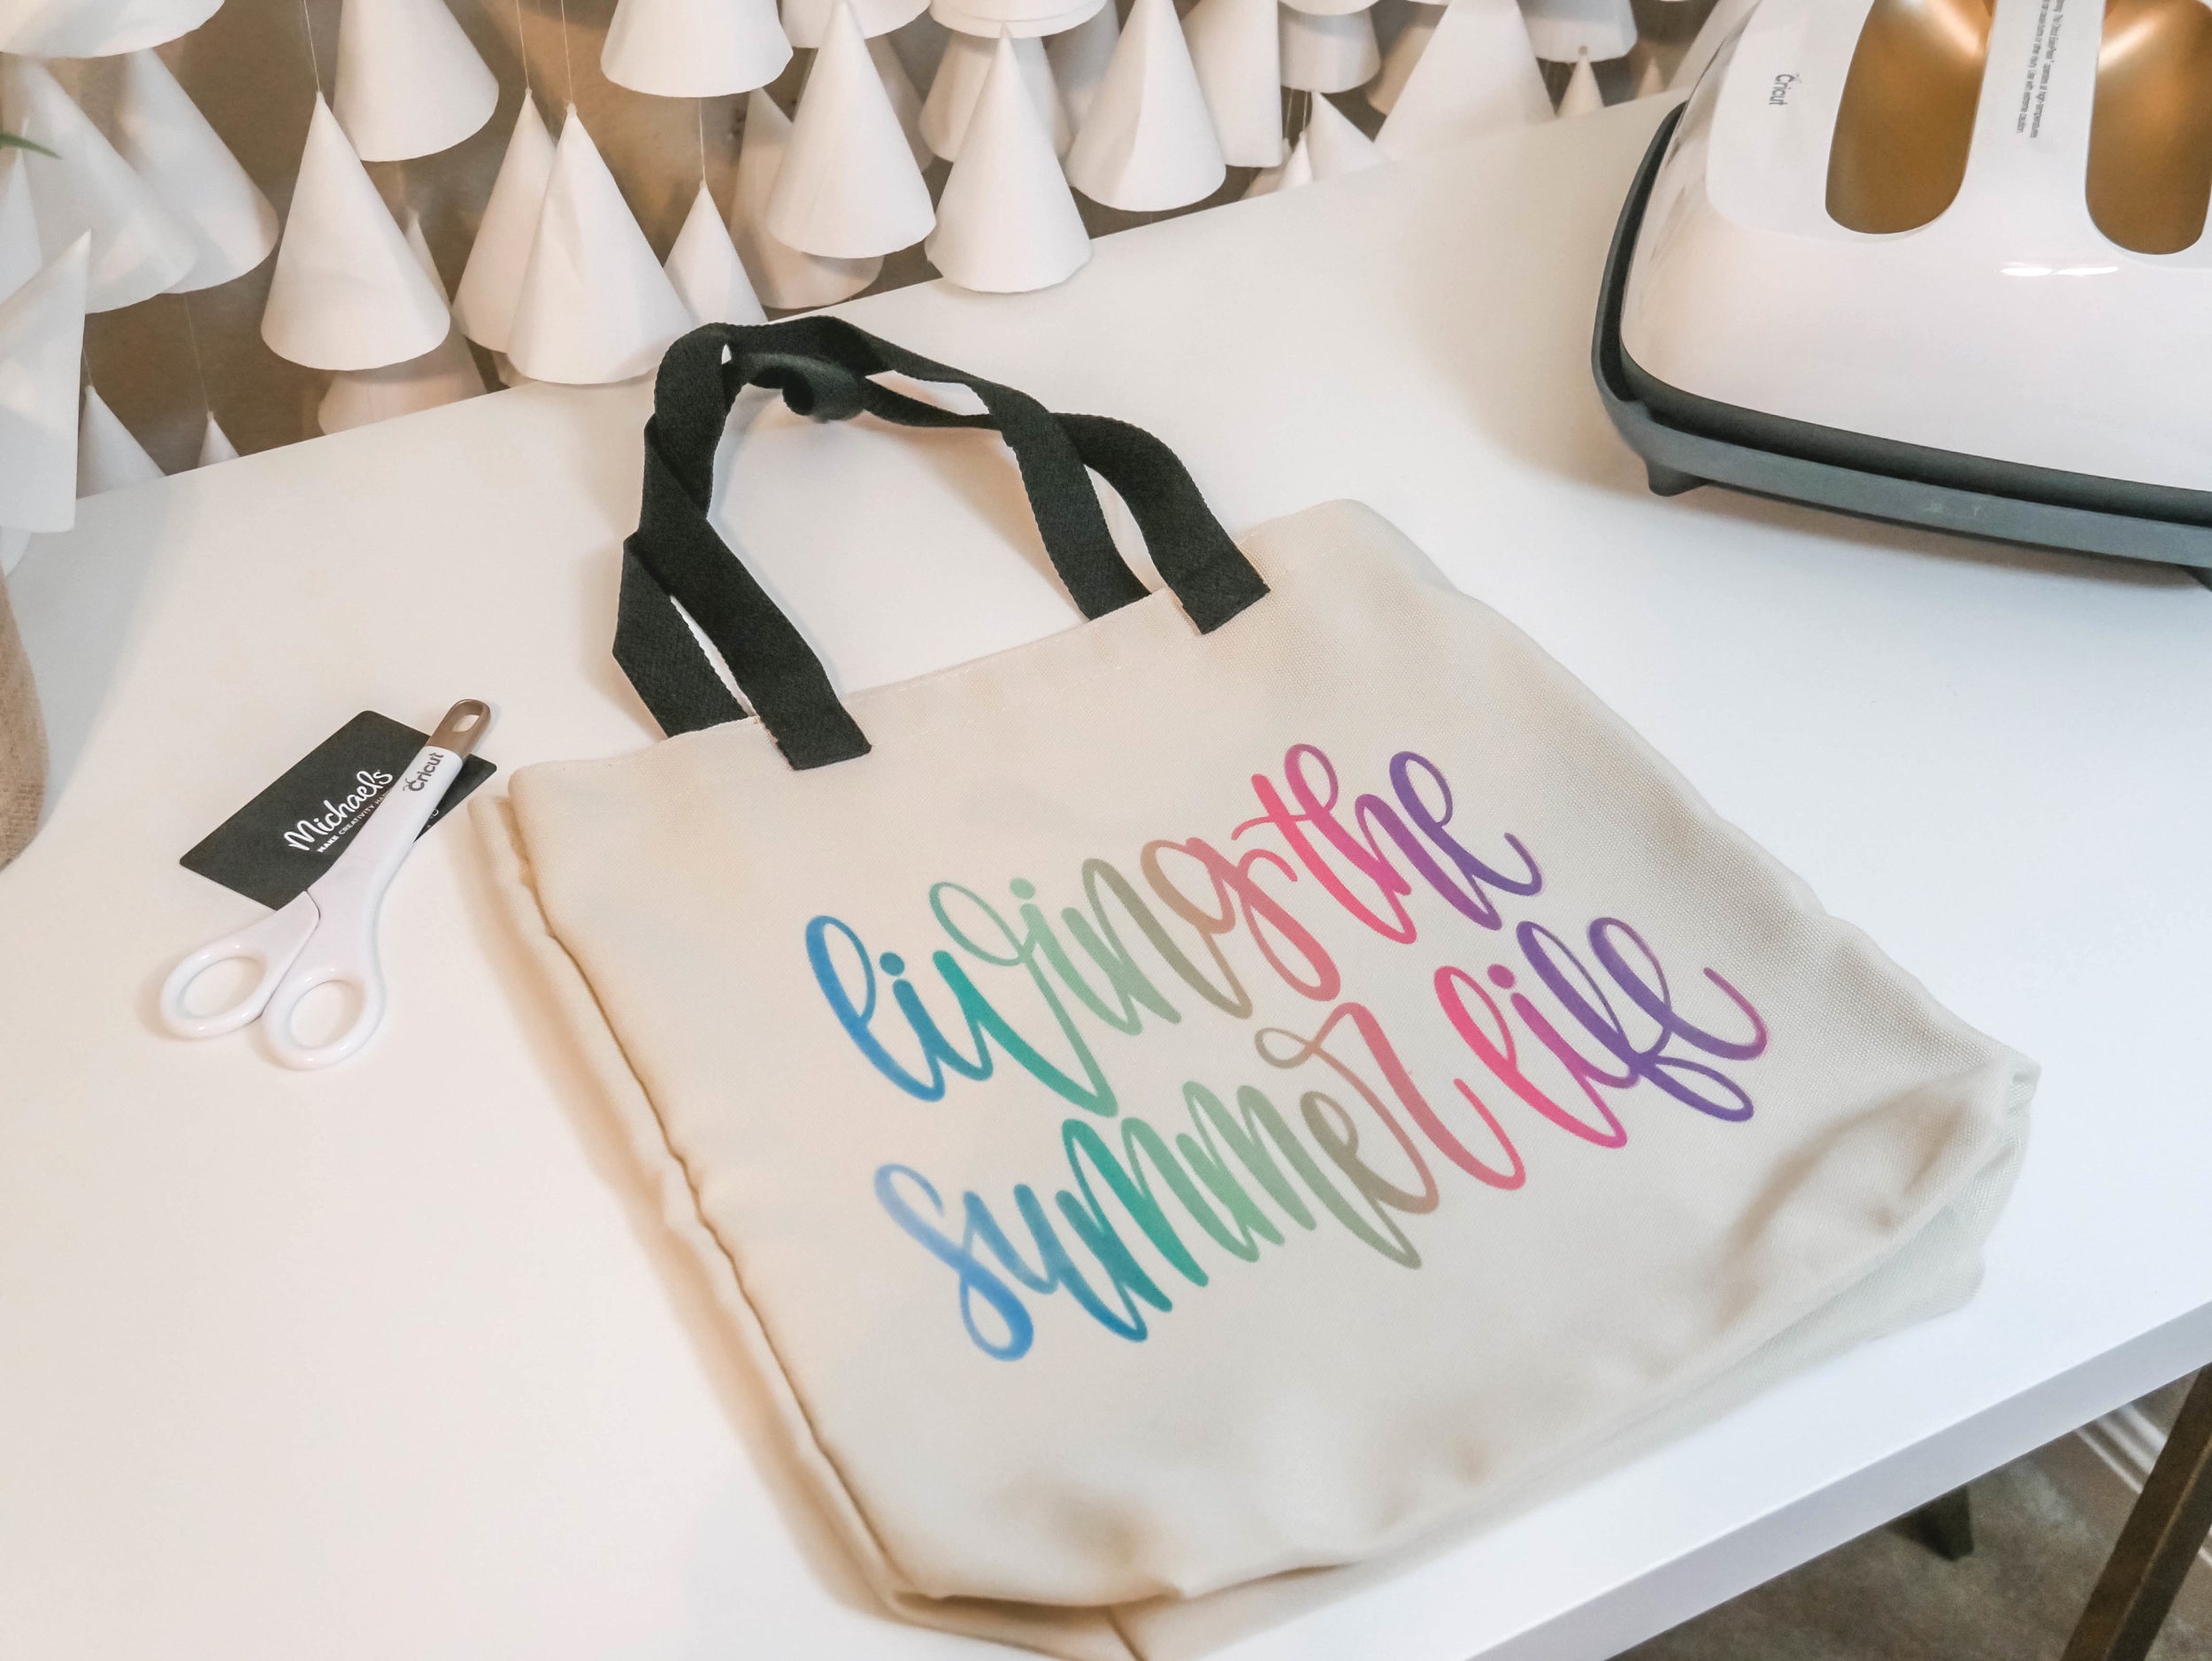
Step 4:
Enjoy and show off your project!!
What do you guys think? Don’t you think the New Cricut Infusible Ink is the coolest thing ever? I seriously can’t thank Michaels enough for always being the one who brings new things and new ideas, so I want to give a BIG shout out to them!!!
Don’t forget to sign up for my newsletter below to stay in the loop and get exclusive access to my entire library of FREE printables and DIYs!
Pin these for Later


I’m super excited to show you this Gypsy inspired Engagement Party The mix of colors and textures are so much fun and